> For the complete documentation index, see [llms.txt](https://docs.blippar.com/webar-sdk/llms.txt). Markdown versions of documentation pages are available by appending `.md` to page URLs; this page is available as [Markdown](https://docs.blippar.com/webar-sdk/v2.0.4/integrations/unity-integration/package-installation.md).
# Package Installation
Learn how to install the WebAR SDK Unity Package
{% content-ref url="/spaces/3UKy7VHRJWrNarYaMp13" %}
[Blippar Documentation Centre](https://docs.blippar.com/blippar-documentation-centre/)
{% endcontent-ref %}
## Introduction
This guide provides a walk through of the WebAR SDK Unity package installation
## Install WebAR SDK Unity Package
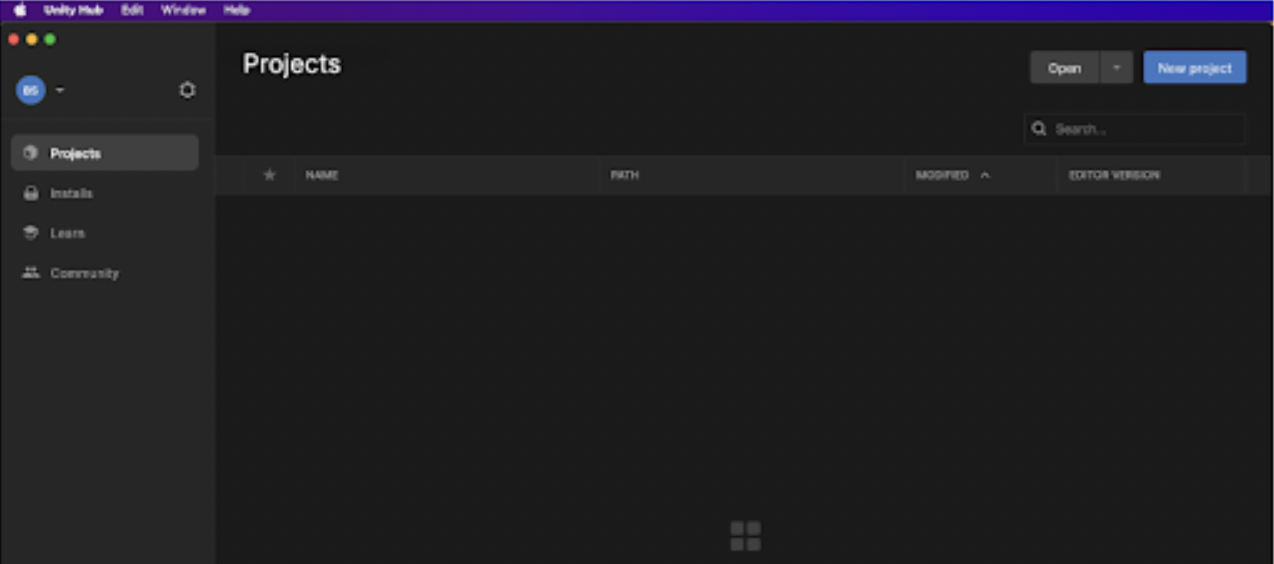
From the Unity Hub desktop application
* Click **New project**
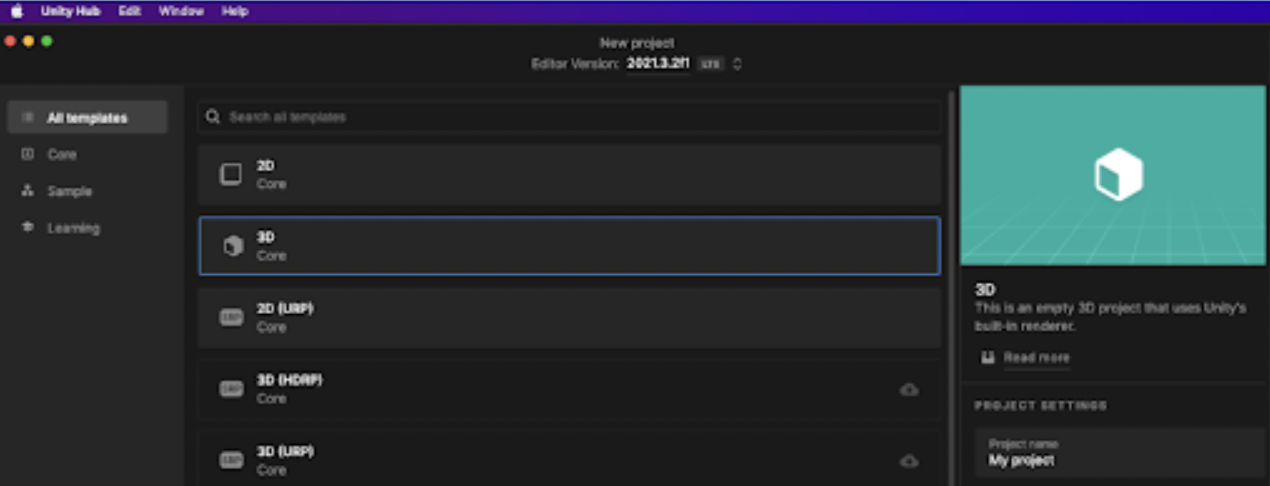
* Select 3D (Core) template
* Click Create project to open the new project in Unity Editor application
* Make sure WebGL build support is installed, if not then please install.
Create a project
Template and project name
* Download the [unity\_webarsdk.unitypackage](https://unity-webar-sdk.blippar.com/releases/latest/unity_webarsdk.unitypackage?_gl=1*tsfx\[%E2%80%A6]Z5WQRDSH6E*MTY4NjczNTEyMC4yMS4wLjE2ODY3MzUxMjkuNTEuMC4w)
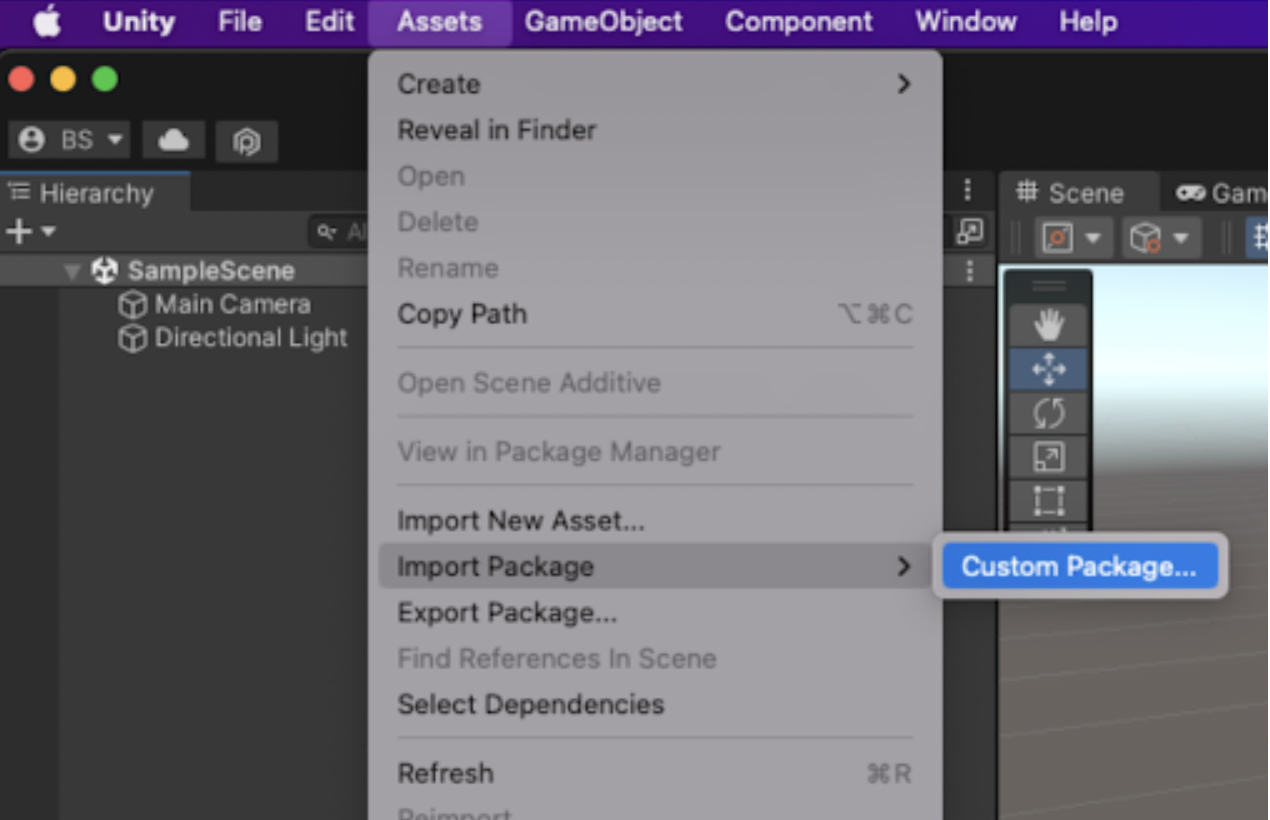
* From the menu bar of the project's Unity Editor, navigate to **Assets > Import package > Custom package** and open the downloaded unity\_webarsdk.unitypackage file.
Select Package
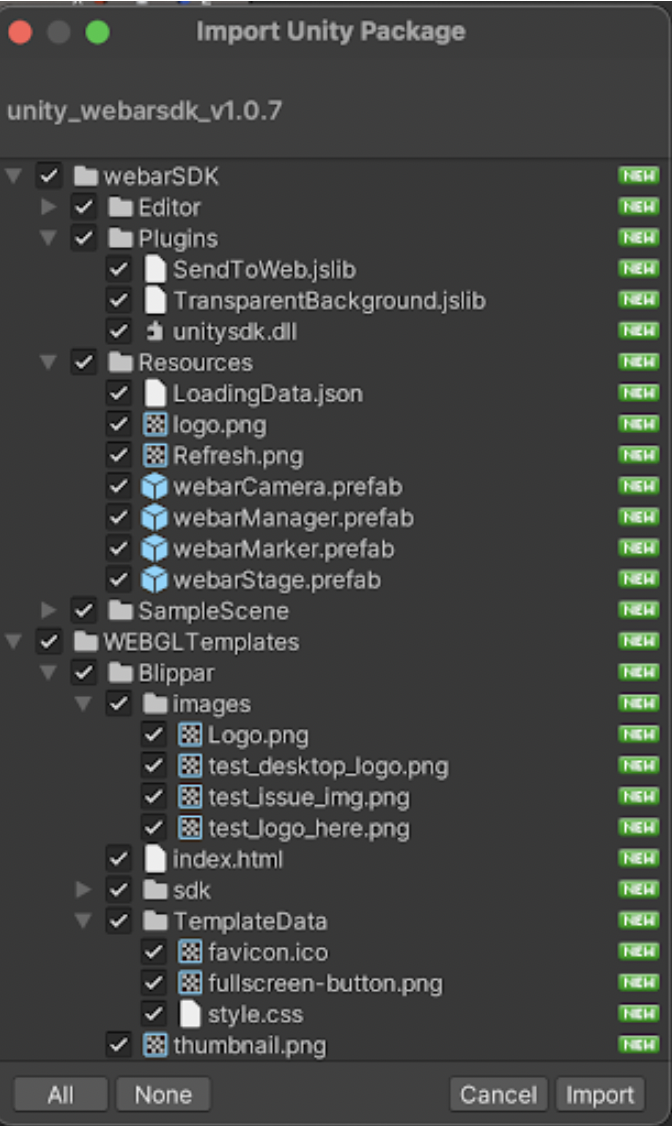
* In the Import package dialog box, retain **defaults** and click **Import**
Import Package
* After the import operation is completed, verify if the **Blippar Menu** is available in the **Unity Editor's Menu bar.**
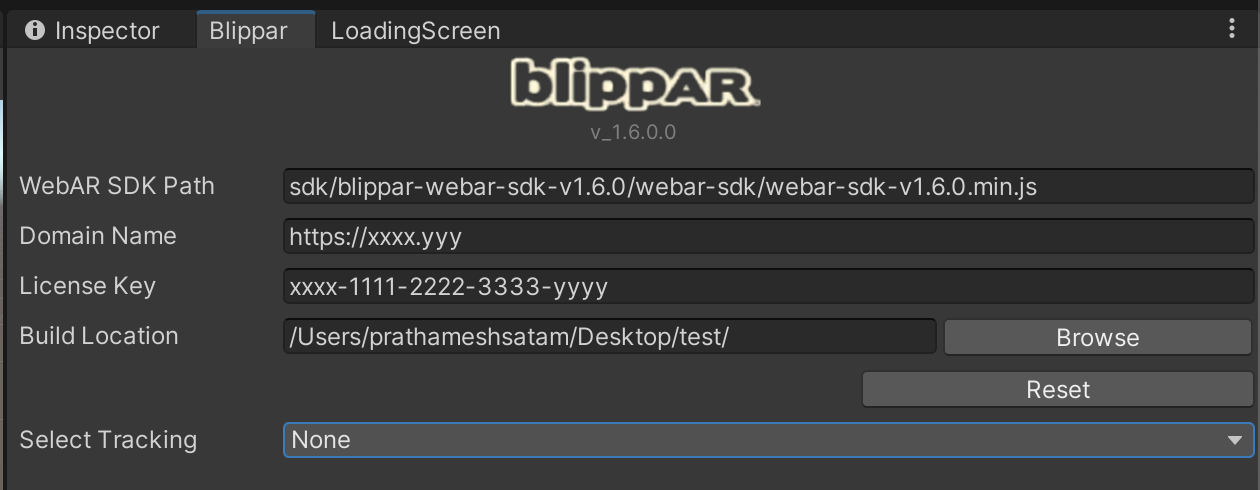
* Under **Blippar** Menu\*\*,\*\* select **Webar Settings** to open the **Blippar Inspector Window.**
* In the Blippar Inspector tab enter the License key purchased from Blippar hub.[ See here ](/webar-sdk/v2.0.4/getting-started/signup-and-get-a-license.md)for more details.
Blippar Inspector Tab
* Build Location is the path where the final build will be exported.
* The build location is auto filled on clicking ‘Reset’. The default location can be updated based on requirement.
* Click ‘Browse’ and select the path to update the default location of the build export.
**This completes the installation**