WebAR SDK
v1.7.4
v1.7.4
  • Introduction
  • What's New?
  • GETTING STARTED
    • SignUp and Get a License
    • Manage Your Licenses
    • Download WebAR SDK
    • Installing WebAR SDK
  • INTEGRATIONS
    • A-Frame Integration
      • Build a Basic Surface Tracking Experience
      • Build a Marker Tracking Experience
      • Build an Advanced Portal Experience
      • Build a Basic Face Tracking Experience
    • Babylon.Js Integration
      • Build a Basic Surface Tracking Experience
      • Build a Basic Marker Tracking Experience
    • Unity Integration
      • Package Installation
      • Build a Basic Surface Tracking Experience
      • Build a Basic Marker Tracking Experience
      • Customize Loading Screen
      • Rotate and Zoom
      • Use Cases
      • Unity Build Settings
      • Unity Screenshot Feature
    • PlayCanvas Integration
      • Build a Basic Surface Tracking Experience
      • Build a Basic Marker Tracking Experience
    • What Makes a Good Marker
  • API
    • API Reference - Javascript
      • A-Frame Attributes
      • SDK Configuration Properties
      • Javascript Functions
    • API Reference - Unity(C#)
      • SDK Configuration Properties
      • C# Functions
    • Customization API
  • PUBLISH YOUR CREATION
    • Develop Locally
    • Launch the Experience
  • MORE INFORMATION
    • Pricing
    • FAQs
    • Release Notes
  • Support
    • Contact Support
Powered by GitBook
On this page
  • Introduction
  • Install WebAR SDK Unity Package
  1. INTEGRATIONS
  2. Unity Integration

Package Installation

Learn how to install the WebAR SDK Unity Package

PreviousUnity IntegrationNextBuild a Basic Surface Tracking Experience

Introduction

This guide provides a walk through of the WebAR SDK Unity package installation

Install WebAR SDK Unity Package

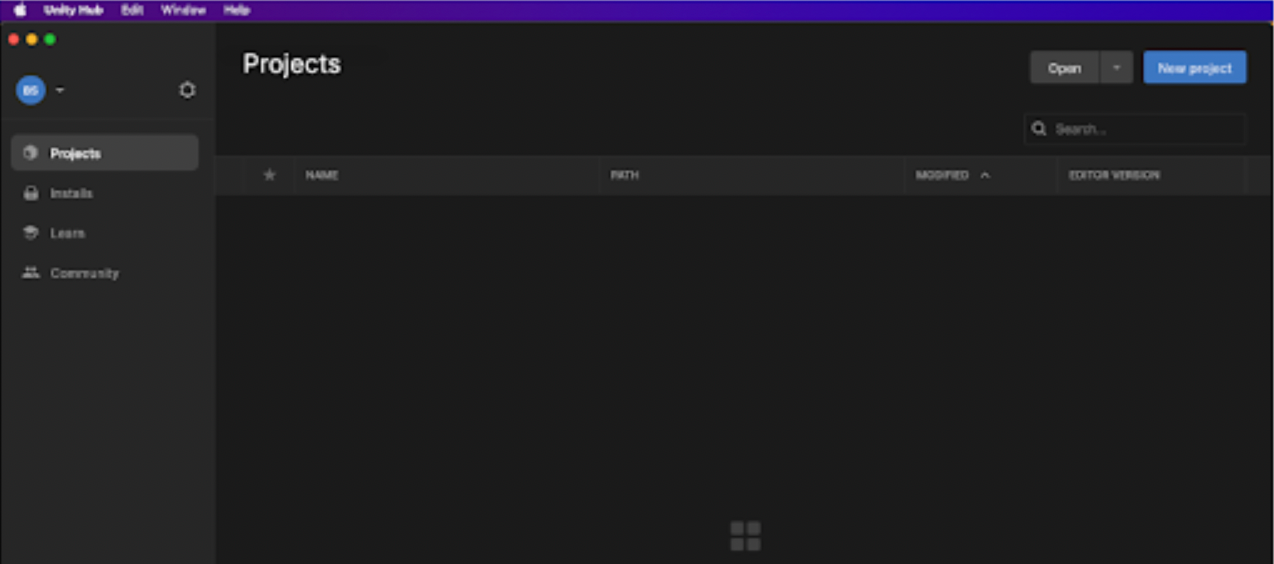
From the Unity Hub desktop application

  • Click New project

  • Select 3D (Core) template

  • Click Create project to open the new project in Unity Editor application

  • Make sure WebGL build support is installed, if not then please install.

  • From the menu bar of the project's Unity Editor, navigate to Assets > Import package > Custom package and open the downloaded unity_webarsdk.unitypackage file.

  • In the Import package dialog box, retain defaults and click Import

  • After the import operation is completed, verify if the Blippar Menu is available in the Unity Editor's Menu bar.

  • Under Blippar Menu**,** select Webar Settings to open the Blippar Inspector Window.

  • Build Location is the path where the final build will be exported.

  • The build location is auto filled on clicking ‘Reset’. The default location can be updated based on requirement.

  • Click ‘Browse’ and select the path to update the default location of the build export.

This completes the installation

Download the

In the Blippar Inspector tab enter the License key purchased from Blippar hub.for more details.

unity_webarsdk.unitypackage
See here
Blippar Documentation Centre
Create a project
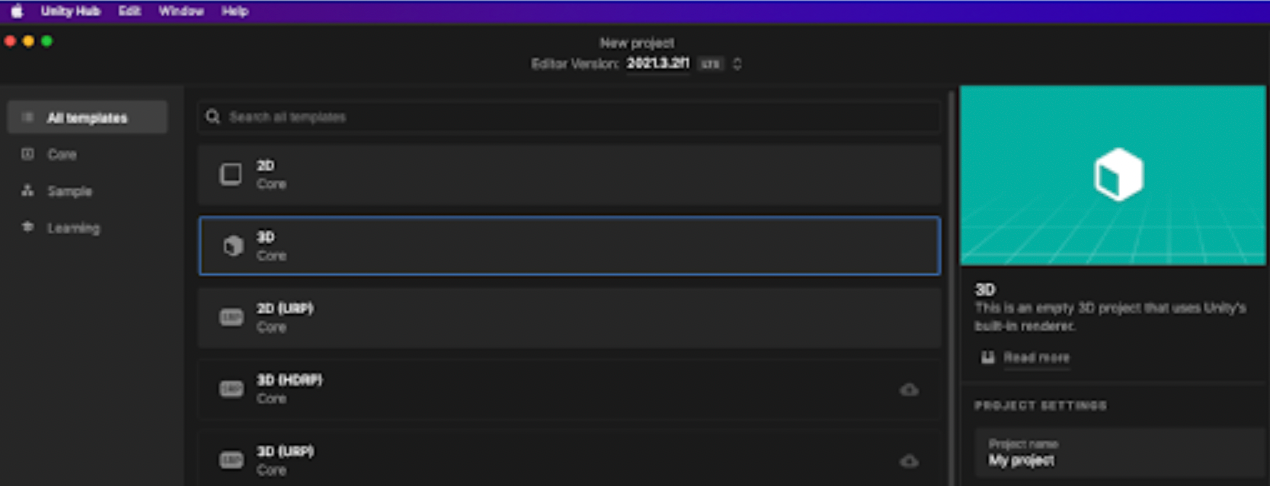
Template and project name
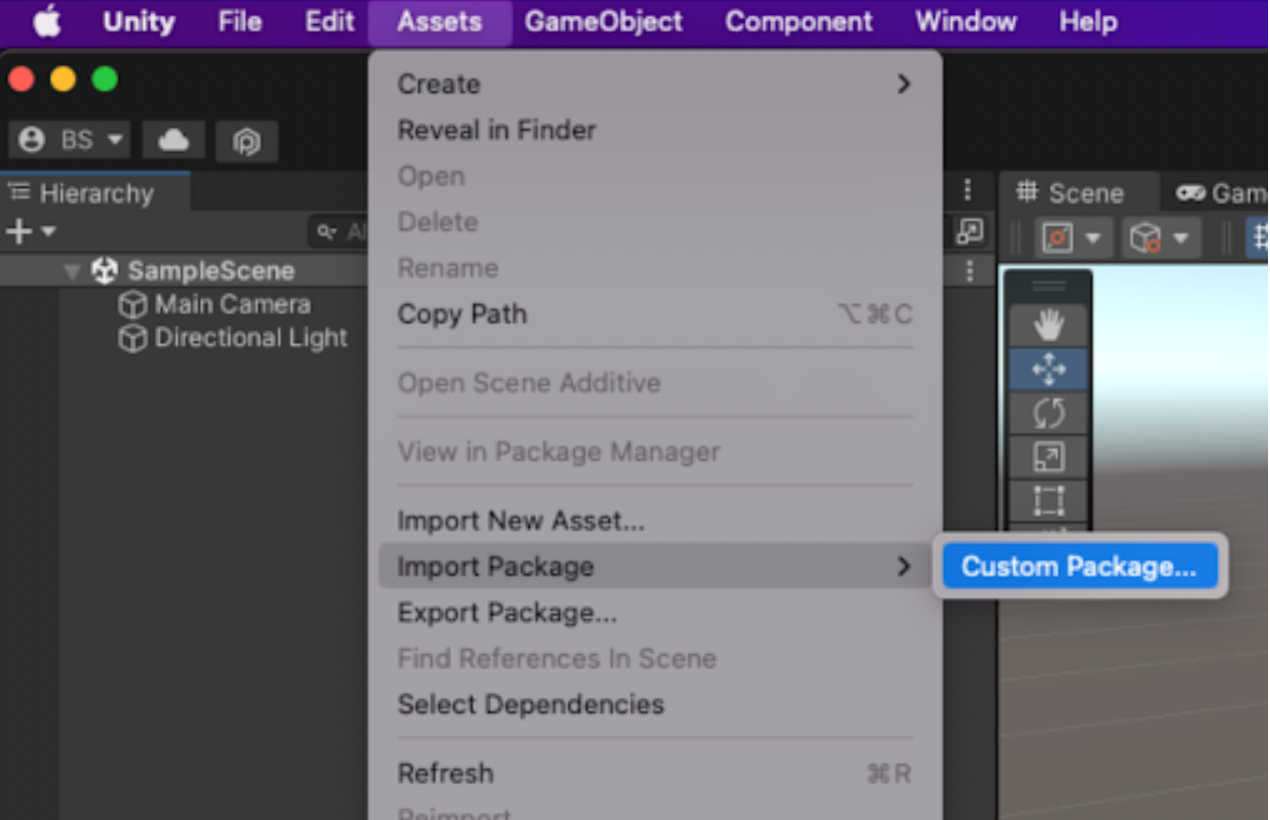
Select Package
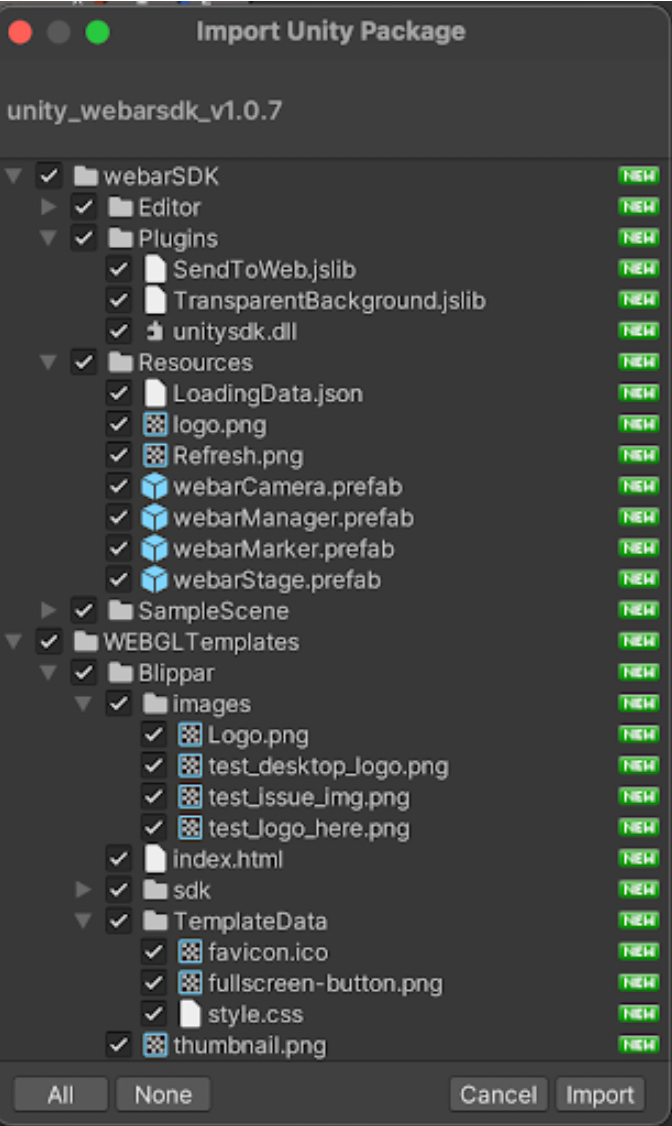
Import Package
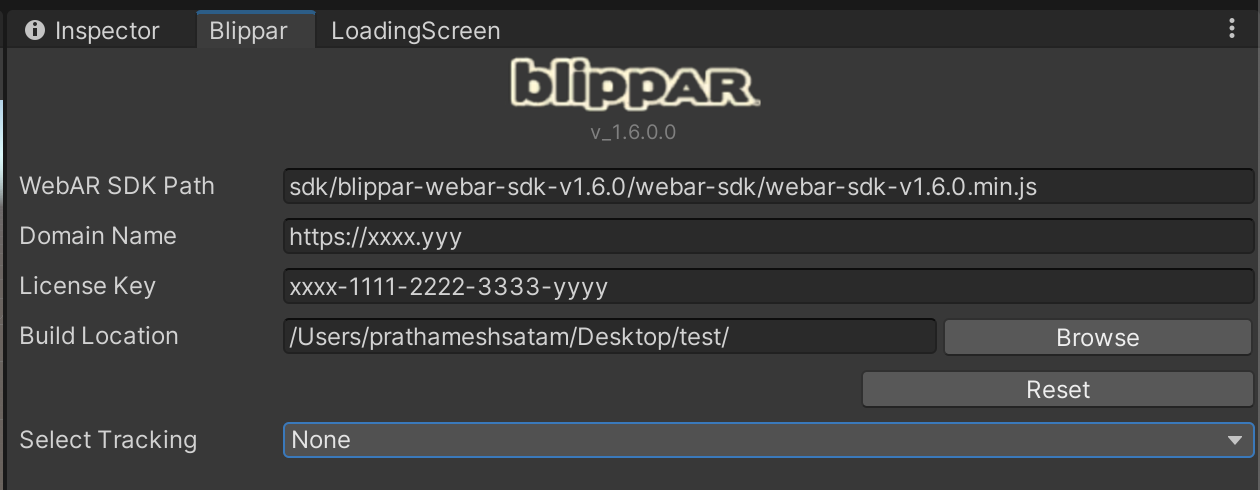
Blippar Inspector Tab