Customize Loading Screen
Learn how to customize your loading screen animation
Introduction
This guide provides a walkthrough on the process of customizing the loading screen using Unity engine.
This is a custom feature
Customize Loading Screen
Blippar Unity SDK package allows you to customize your API. There are several SDK attributes that you can define for customization. This API can be applied for customizing the loading screen animation to display any logo image, size, colour, progress ring, ring colour instead of displaying the default loading screen. For example: and many more.
To customize the loading screen animation follow the steps below:
Click on the 'Blippar' Menu tab and from the drop-down, select the option 'Loading Screen'.

The loading screen tab will be displayed on the screen
A default template will be selected as the template that would be used for generating the build.
You can use the default template as a base and modify to create new templates. You can also choose to create as many templates as required.
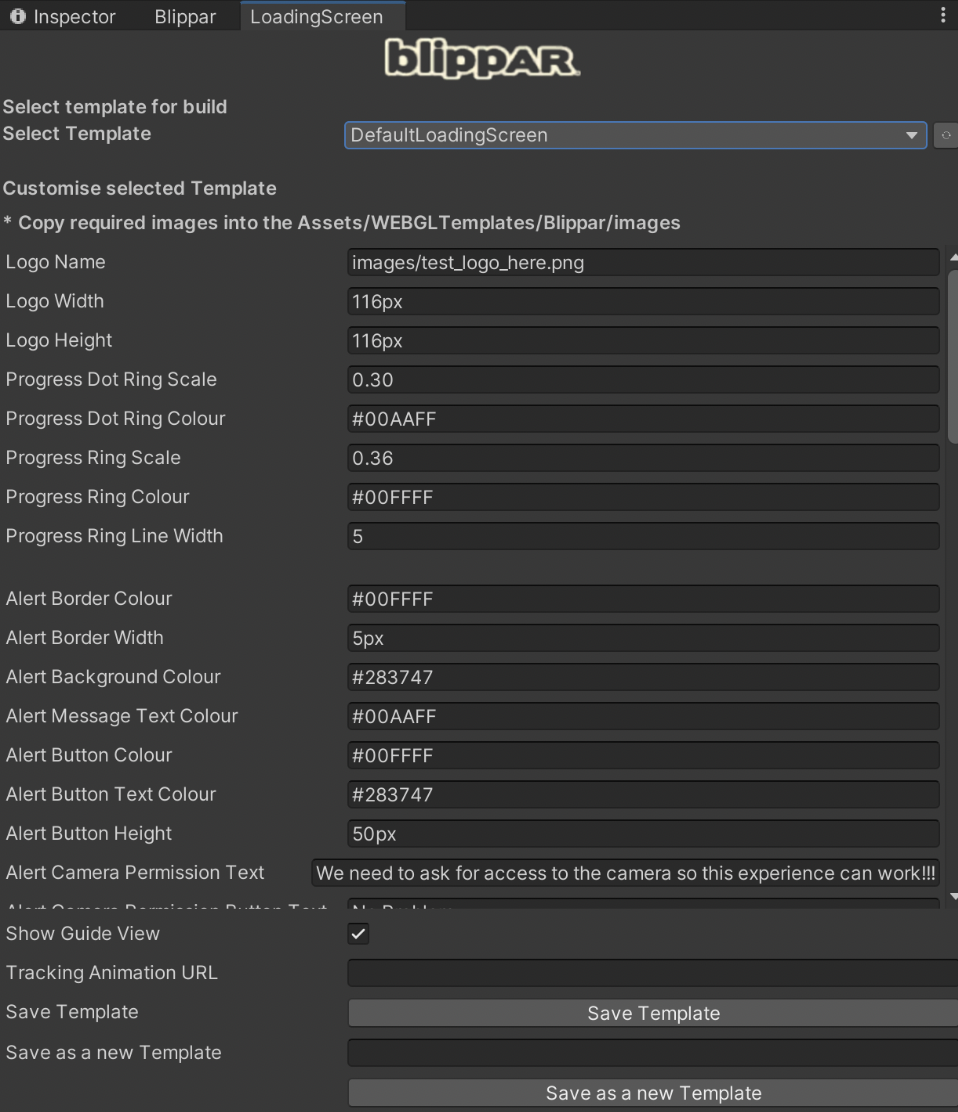
Provide the name of the logo and store the required assets into the Assets/WEBGLTemplates/Blippar/images. This is the folder location in which the image files must be stored in order to effectively trigger the customized animation.
Enter the details of customization for logo width, height, progress dot ring scale, ring colour, alert border colour etc based on your requirement.
Click on 'Save Template' to save the modified as the default. You can alternatively select the option to 'Save as new Template'. Refer image below:

Customize Tracking Animation
You can customize the tracking animation.
Click on the 'Blippar' Menu tab and from the drop-down, select the option 'Loading Screen'.
The loading screen tab will be displayed on the screen
A default template will be selected as the template that would be used for generating the build.
You can use the default template as a base and modify to create new templates. You can also choose to create as many templates as required.
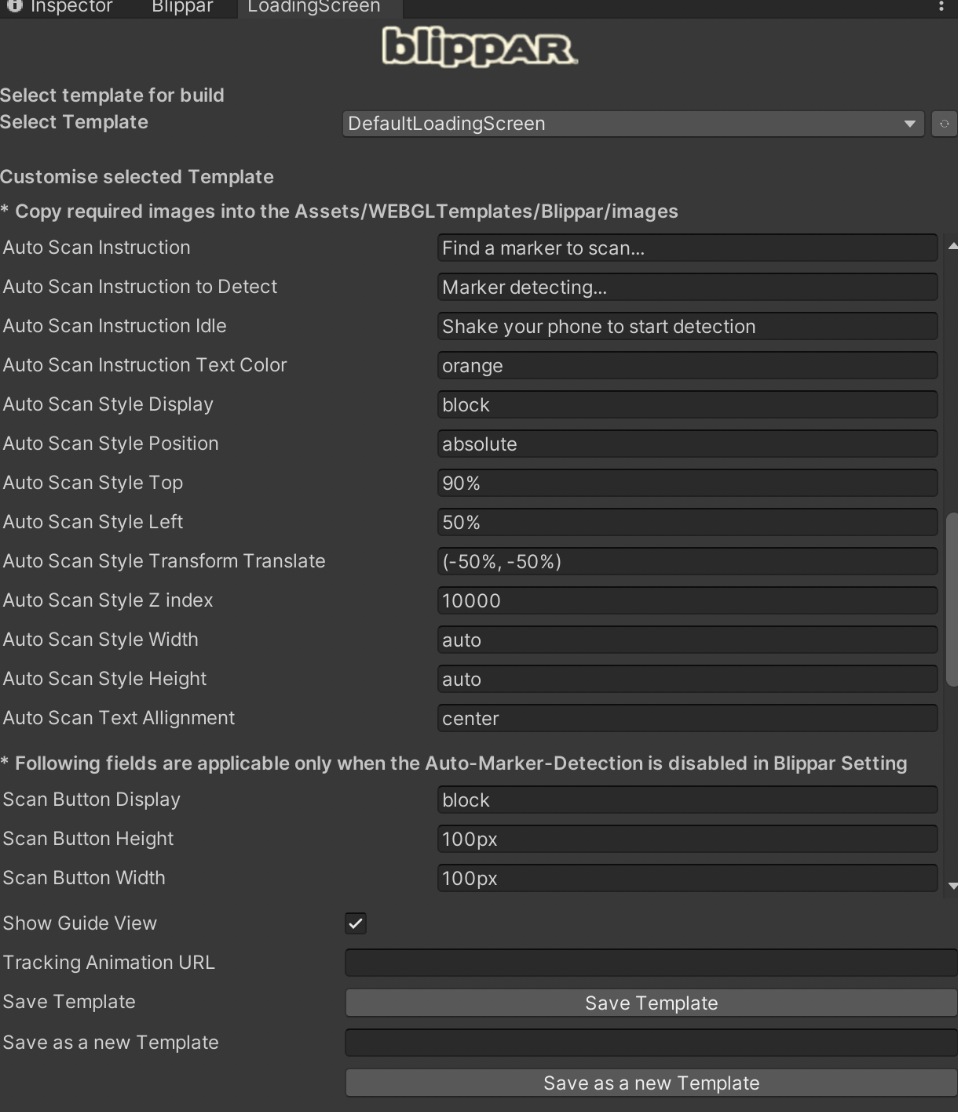
Navigate to the 'Tracking Animation URL' field and provide the animation url https://lottiefiles.com/
Click on 'Save Template' to save the modified as the default. You can alternatively select the option to 'Save as new Template'. Refer image below: