
Build a Basic Marker Tracking Experience
Construction of an AR experience using image or marker tracking
Marker Tracking
Create a basic scene
Login to your PlayCanvas Account OR you can alternatively click the link to fork this PlayCanvas Marker Tracking project
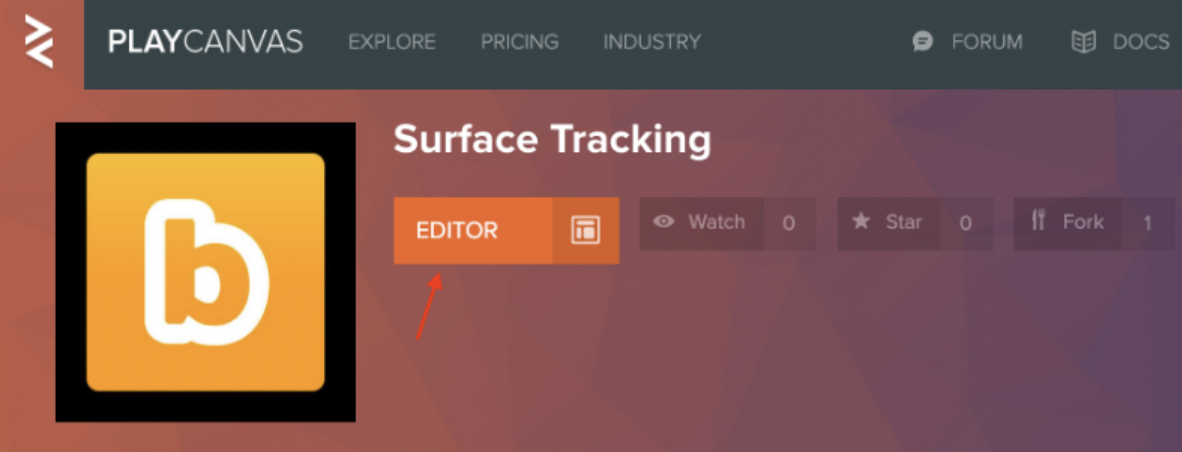
Click 'Editor' to open the project in PlayCanvas Editor as shown in the image below:
Select the Main Scene
Click the gear icon to open Main settings as show in the image below:
A pop-up will appear as an instructor panel on the right side of the screen
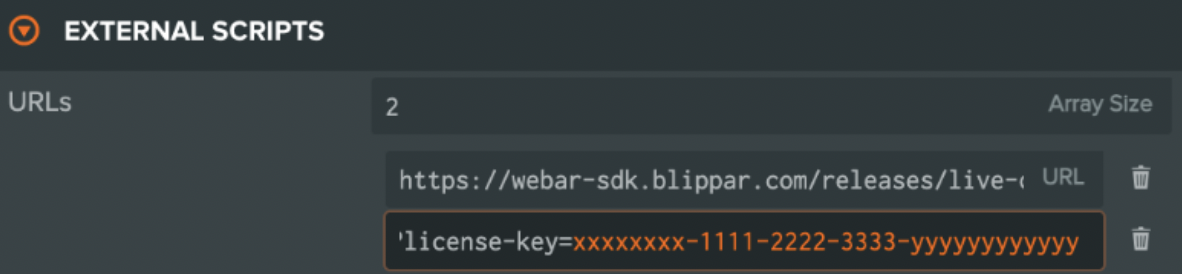
Click on 'External Scripts'
A URLs pop-up will appear on the screen with a sample license key as shown in the image below:
In the left 'Hierarchy' panel select the Root Entity
In the right Inspector Panel, click the 'arrow' next to WebarSdkSurface 'Script' component aand make sure the following the following details are entered:
Ensure the Camera Entity is selected under the Webar Camera field
Enter the number (maximum 10) of marker images to be tracked in the MarkerEntityMap's Array Size field. Each array object has a map of Marker Id with the Entity to be displayed on the marker image when scanning.
In the forked example, replace the sample Marker Ids (dddddddd-uuuu-mmmm-mmmm-yyyyyyyy1111 and dddddddd-uuuu-mmmm-mmmm-yyyyyyyy2222) with valid Marker Ids obtained from the Marker Manager in the Blippar hub.
For more information refer this article on how to Add Marker and Manage Marker
Click Publish/Download from the left panel and download the project
Host it on a local/remote HTTPS web server
You can alternatively host it on a server having the same domain name as the one for which the license key is registered.
For more information refer article develop locally to setup a local HTTPS web server.
View The Experience
Load the URL on a mobile browser(iOS Safari or Android Chrome) to start scanning the marker images to experience Marker Tracking