WebAR SDK
v1.7.1
v1.7.1
  • Introduction
  • GETTING STARTED
    • SignUp and Get a License
    • Manage Your Licenses
    • Download WebAR SDK
    • Installing WebAR SDK
  • INTEGRATIONS
    • A-Frame Integration
      • Build a Basic Surface Tracking Experience
      • Build a Marker Tracking Experience
      • Build an Advanced Portal Experience
      • Build a Basic Face Tracking Experience
    • Babylon.Js Integration
      • Build a Basic Surface Tracking Experience
      • Build a Basic Marker Tracking Experience
    • Unity Integration
      • Package Installation
      • Build a Basic Surface Tracking Experience
      • Build a Basic Marker Tracking Experience
      • Customize Loading Screen
      • Rotate and Zoom
      • Use Cases
      • Unity Build Settings
      • Unity Screenshot Feature
    • PlayCanvas Integration
      • Build a Basic Surface Tracking Experience
      • Build a Basic Marker Tracking Experience
    • What Makes a Good Marker
  • API
    • API Reference - Javascript
      • A-Frame Attributes
      • SDK Configuration Properties
      • Javascript Functions
    • API Reference - Unity(C#)
      • SDK Configuration Properties
      • C# Functions
    • Customization API
  • PUBLISH YOUR CREATION
    • Develop Locally
    • Launch the Experience
  • MORE INFORMATION
    • Pricing
    • FAQs
  • Support
    • Contact Support
Powered by GitBook
On this page
  • Surface Tracking
  • Create a basic scene
  • View the Experience
  • Resulting Surface Tracking Experience
  1. INTEGRATIONS
  2. PlayCanvas Integration

Build a Basic Surface Tracking Experience

Construction of an AR experience using SLAM

PreviousPlayCanvas IntegrationNextBuild a Basic Marker Tracking Experience

Surface Tracking

Create a basic scene

  • Login to your PlayCanvas Account OR you can alternatively click the link to fork this PlayCanvas project.

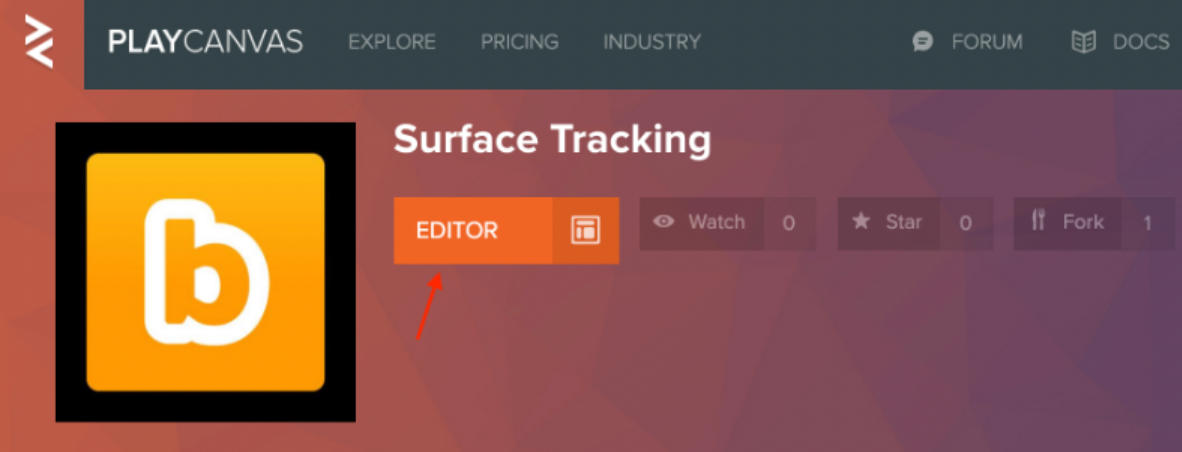
  • Click 'Editor' to open the project in PlayCanvas Editor as shown in the image below:

  • Select the 'Main' Scene

  • Click the gear icon to open Main settings as show in the image below:

  • A pop-up will appear as an instructor panel on the right side of the screen

  • Click on 'External Scripts'

  • A URLs pop-up will appear on the screen with a sample license key as shown in the image below:

  • In the second url's license-key search parameter, replace the sample license key value xxxxxxxx-1111-2222-3333-yyyyyyyyyyyy with a valid license key registered in the Blippar hub.

  • In the left 'Hierarchy' panel select the Root Entity

  • In the right Inspector Panel, click the 'arrow' next to WebarSdkSurface 'Script' component as shown in the image below and make sure the following the following details are entered:

    • Ensure the Camera Entity is selected under the Webar Camera field

    • Ensure the playcanvas Entity, which needs to be displayed on a surface, is selected under the Webar Stage field.

    • If there are multiple Entities to be displayed, they can be placed under a single parent entity

    • The parent entity can then be selected in the Webar Stage field.

  • Click Publish/Download from the left panel and download the project.

  • Host it on a local/remote HTTPS web server

  • You can alternatively host it on a server having the same domain name as the one for which the license key is registered.

View the Experience

Load the URL on a mobile browser(iOS Safari or Android Chrome) to start viewing the experience

Resulting Surface Tracking Experience

For more information refer article to setup a local HTTPS web server.

develop locally
Surface Tracking
Blippar Documentation Centre
Play Canvas Editor
URL with License Key
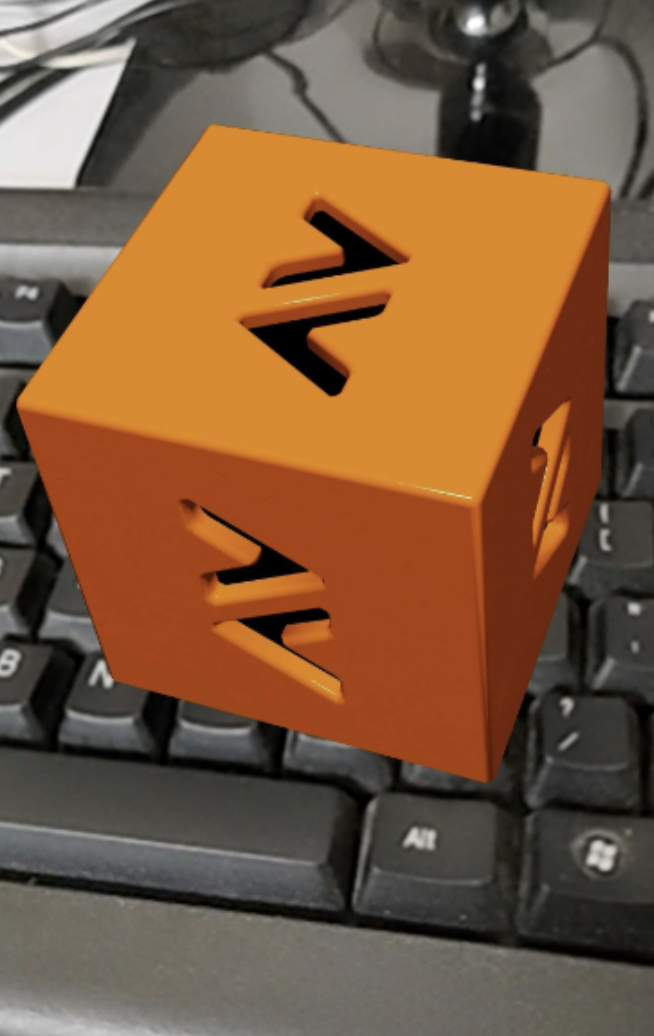
Surface Tracking Experience with PlayCanvas