Unity Build Settings
Learn how to setup and utilize player settings
To configure Unity's build settings for WebGL targeting, follow these steps:
It is easy to build a scene using a Blippar sdk and to build scene use a "Build Scene" option from the Blippar seetings window. The default/customized unity's build settings and player settings will export as it is but to confure please take care of following points.
Please make sure WebGL build support is installed. If not then install.
Click on the "Player Settings" button to open the Player Settings window. Now, let's go through some important settings you might need to consider for building a WebGL project that involves document points:
Specify the "Product Name" to set the name of your WebGL application. Define the "Company Name" and "Product Identifier" and version if necessary.
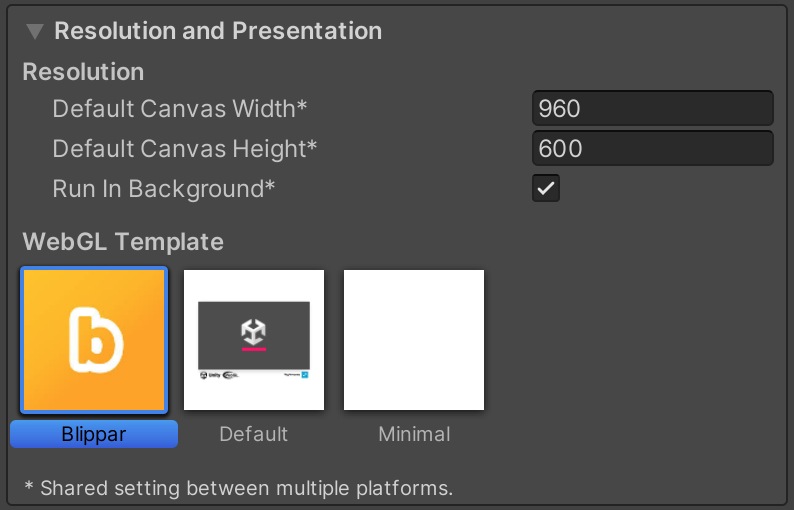
Resolution and Presentation: Resolution and Presentation settings determine how the WebGL content appears in the browser window. Adjust these settings based on your requirements. To run run the Blippar experience smoothly please select a "Blippar" template from webGL template option.

Other Settings: the color space refers to how color calculations and rendering are handled within the game engine. Unity supports two color spaces: Gamma and Linear. For Blippar webGL please select a "Gamma" color space. Graphics API refers to the underlying system that handles rendering graphics and communicates with the graphics hardware or software on a target platform. Set "Auto Graphics API" -> true for Blippar sdk and for older version of targeted devices uncheck the "Auto Graphics API" and select "WebGL2" and "WebGL1 (deprecated)" from dropdown.

In the Player Settings window, navigate to the "Publishing Settings" section. Publishing Settings in Unity allow you to configure various options related to building and deploying your project for different platforms. These settings determine how your game or application will be packaged, what platform-specific features will be enabled, and other deployment-related configurations. The Compression Fallback option helps ensure that your WebGL build remains accessible and playable across different browsers, even if they have varying levels of support for specific compression formats. Make sure the compression fallback is always "True"
