# Build a Basic Surface Tracking Experience
{% content-ref url="" %}
[Blippar Documentation Centre](https://app.gitbook.com/o/QMsd5hT6sxA9FBIB03yh/s/3UKy7VHRJWrNarYaMp13/)
{% endcontent-ref %}
## **Surface Tracking**
## Create a basic scene
* Login to your PlayCanvas Account OR you can alternatively click the link to fork this PlayCanvas [Surface Tracking](https://playcanvas.com/project/859355/overview/surface-tracking) project.
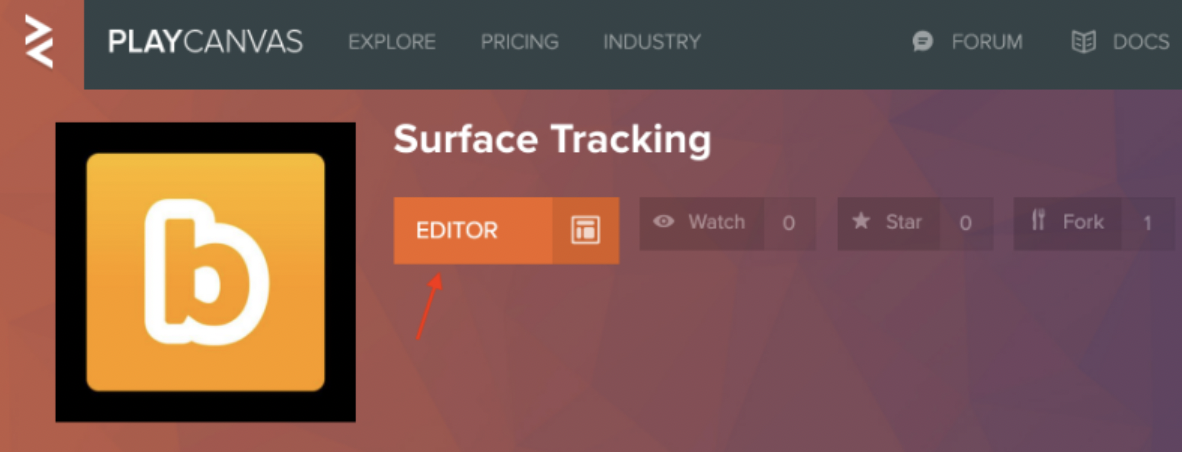
* Click **'Editor'** to open the project in PlayCanvas Editor as shown in the image below:
Play Canvas Editor
* Select the '**Main'** Scene
* Click the gear icon to open Main settings as show in the image below:
* A pop-up will appear as an instructor panel on the right side of the screen
* Click on **'External Scripts'**
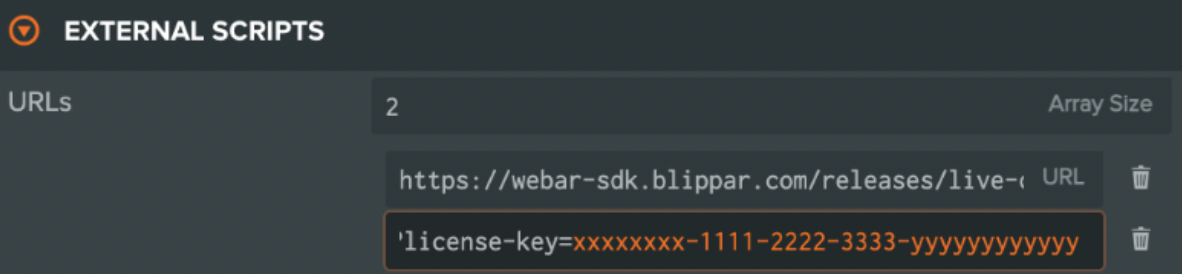
* A URLs pop-up will appear on the screen with a sample license key as shown in the image below:
URL with License Key
* In the second url's license-key search parameter, replace the sample license key value xxxxxxxx-1111-2222-3333-yyyyyyyyyyyy with a valid license key registered in the Blippar hub.
* In the left **'Hierarchy'** panel select the **Root** Entity
* In the right Inspector Panel, click the **'arrow'** next to WebarSdkSurface '**Script'** component as shown in the image below and make sure the following the following details are entered:
* Ensure the *Camera* Entity is selected under the **Webar Camera** field
* Ensure the *playcanvas* Entity, which needs to be displayed on a surface, is selected under the **Webar Stage** field.
* If there are multiple Entities to be displayed, they can be placed under a single parent entity
* The parent entity can then be selected in the **Webar Stage** field.
* Click **Publish/Download** from the left panel and download the project.
* Host it on a local/remote HTTPS web server
* You can alternatively host it on a server having the same domain name as the one for which the license key is registered.
* For more information refer article [develop locally ](https://docs.blippar.com/webar-sdk/publish-your-creation/develop-locally)to setup a local HTTPS web server.
## **Integrate Enhanced UX with Stage Cursor, Rotation, and Scaling**
This is enabled by default. You can enhance the AR experience by incorporating a stage cursor, which enables users to precisely place the AR model with a simple screen tap. This feature not only adds precision but also introduces gesture-based interactions, such as rotation and scaling, making the scene more interactive and engaging. However, if this functionality does not suit your needs, it can easily be disabled or switched off. This optional enhancement is controlled through the `webar-ux-control` component, which should be configured as a child of the `webar-stage` entity. To enable or disable the Enhanced UX feature in the PlayCanvas Editor, please follow these steps:
* In the PlayCanvas Editor, click on the `Root` located on the left side of the interface. You will see a display similar to this:\

* After selecting the root, a properties window will appear on the right-hand side of the editor, like this:\
\
\
In this properties window, you will notice several script attributes from **WebarSdkSurface.js**. These include **Webar Camera**, **Webar Stage**, and **Webar UX Control**, each mapped to corresponding entities in the hierarchy shown on the left side of the panel, as illustrated in the first step. To enable/disable different UX options, look for **WebAR UX Options**.
* To toggle different UX options, simply check or uncheck the options under `WebAR UX Options`:\

1. **Stage Cursor UX:** When this option is enabled, a visual cursor will appear on the identified surface within the AR scene. This feature allows users to tap the screen to position the 3D model precisely at the cursor's location. It provides an intuitive method for controlling the placement of the model in the physical environment.
2. **User Gesture Rotation:** Enabling this feature allows users to rotate the model by swiping on the screen. The rotation responsiveness of the AR object to user gestures can be customized. To adjust this, the [`gesture-rotation-speed`](https://docs.blippar.com/webar-sdk/api/api-ref-1.5.3/sdk-configuration-properties#gesture-rotation-speed)attribute is available in the **webar-sdk-config-surface.js** configuration file. This setting enhances the user's interactive experience by allowing them to manipulate the object's orientation in the AR space.
3. **User Gesture Scale:** With this feature activated, users can scale the AR object up or down using a pinch gesture, adding a dynamic and interactive element to the AR experience. The scaling range can be controlled through the [`gesture-scale-max`](https://docs.blippar.com/webar-sdk/api/api-ref-1.5.3/sdk-configuration-properties#gesture-scale-max) and [`gesture-scale-min`](https://docs.blippar.com/webar-sdk/api/api-ref-1.5.3/sdk-configuration-properties#gesture-scale-min) attributes, which are also located in the **webar-sdk-config-surface.js** file. These settings provide users with the flexibility to adjust the size of the AR object to their preference.
## View the Experience
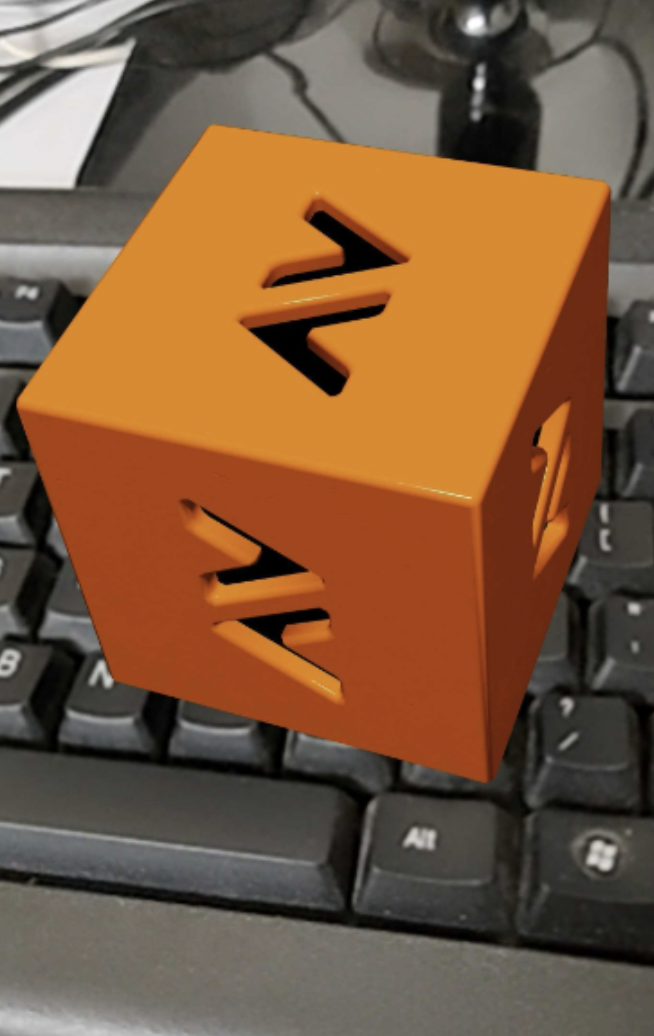
Load the URL on a mobile browser(iOS Safari or Android Chrome) to start viewing the experience
## Resulting Surface Tracking Experience