WebAR SDK
v2.0.8
v2.0.8
  • Introduction
  • What's New?
  • GETTING STARTED
    • SignUp and Get a License
    • Manage Your Licenses
    • Download WebAR SDK
    • Installing WebAR SDK
  • INTEGRATIONS
    • A-Frame Integration
      • Build a Basic Surface Tracking Experience
      • Build an Advanced Surface Tracking Experience
      • Build a Marker Tracking Experience
      • Build a Basic Face Tracking Experience
    • Babylon.Js Integration
      • Build a Basic Surface Tracking Experience
      • Build a Basic Marker Tracking Experience
    • Unity Integration
      • Package Installation
      • Build a Basic Surface Tracking Experience
      • Build a Basic Marker Tracking Experience
      • Customize Loading Screen
      • Rotate and Zoom
      • Use Cases
      • Unity Build Settings
      • Unity Screenshot Feature
    • PlayCanvas Integration
      • Build a Basic Surface Tracking Experience
      • Build a Basic Marker Tracking Experience
    • What Makes a Good Marker
  • API
    • API Reference - Javascript
      • A-Frame Attributes
      • SDK Configuration Properties
      • Javascript Functions
    • API Reference - Unity(C#)
      • SDK Configuration Properties
      • C# Functions
    • Customization API
  • PUBLISH YOUR CREATION
    • Develop Locally
    • Launch the Experience
  • MORE INFORMATION
    • Pricing
    • FAQs
    • Release Notes
  • Support
    • Contact Support
Powered by GitBook
On this page
  • Introduction
  • Install WebAR SDK Unity Package
  1. INTEGRATIONS
  2. Unity Integration

Package Installation

Learn how to install the WebAR SDK Unity Package

Introduction

This guide provides a walk through of the WebAR SDK Unity package installation

Install WebAR SDK Unity Package

From the Unity Hub desktop application

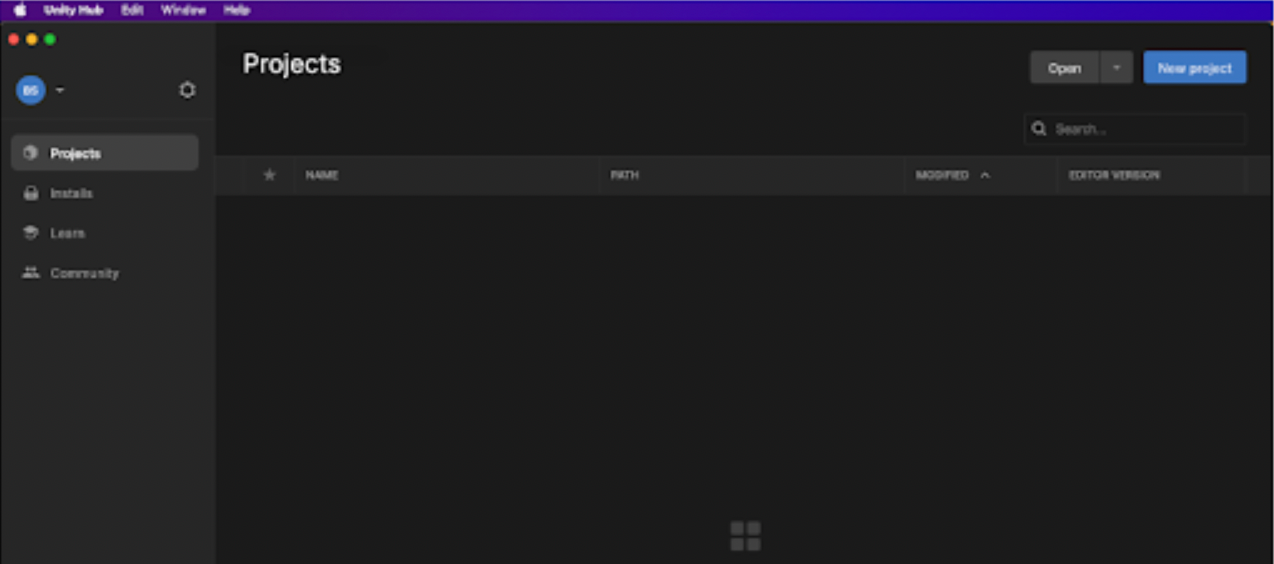
  • Click New project

  • Select 3D (Core) template

  • Click Create project to open the new project in Unity Editor application

  • Make sure WebGL build support is installed, if not then please install.

  • Download the unity_webarsdk.unitypackage

  • From the menu bar of the project's Unity Editor, navigate to Assets > Import package > Custom package and open the downloaded unity_webarsdk.unitypackage file.

  • In the Import package dialog box, retain defaults and click Import

  • After the import operation is completed, verify if the Blippar Menu is available in the Unity Editor's Menu bar.

  • Under Blippar Menu**,** select Webar Settings to open the Blippar Inspector Window.

  • In the Blippar Inspector tab enter the License key purchased from Blippar hub. See here for more details.

  • Build Location is the path where the final build will be exported.

  • The build location is auto filled on clicking ‘Reset’. The default location can be updated based on requirement.

  • Click ‘Browse’ and select the path to update the default location of the build export.

This completes the installation

Blippar Documentation Centre
Create a project
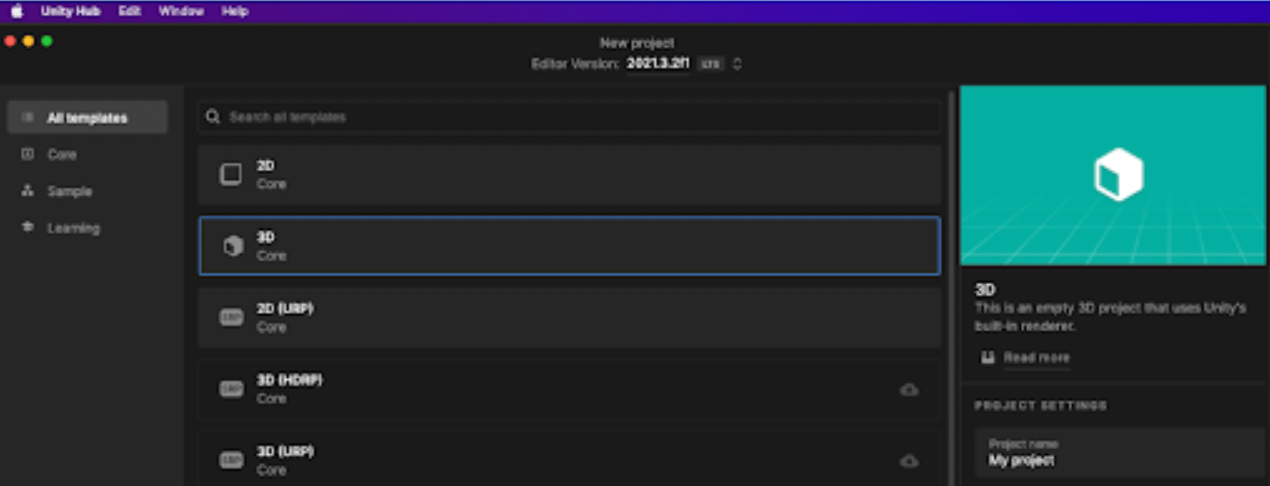
Template and project name
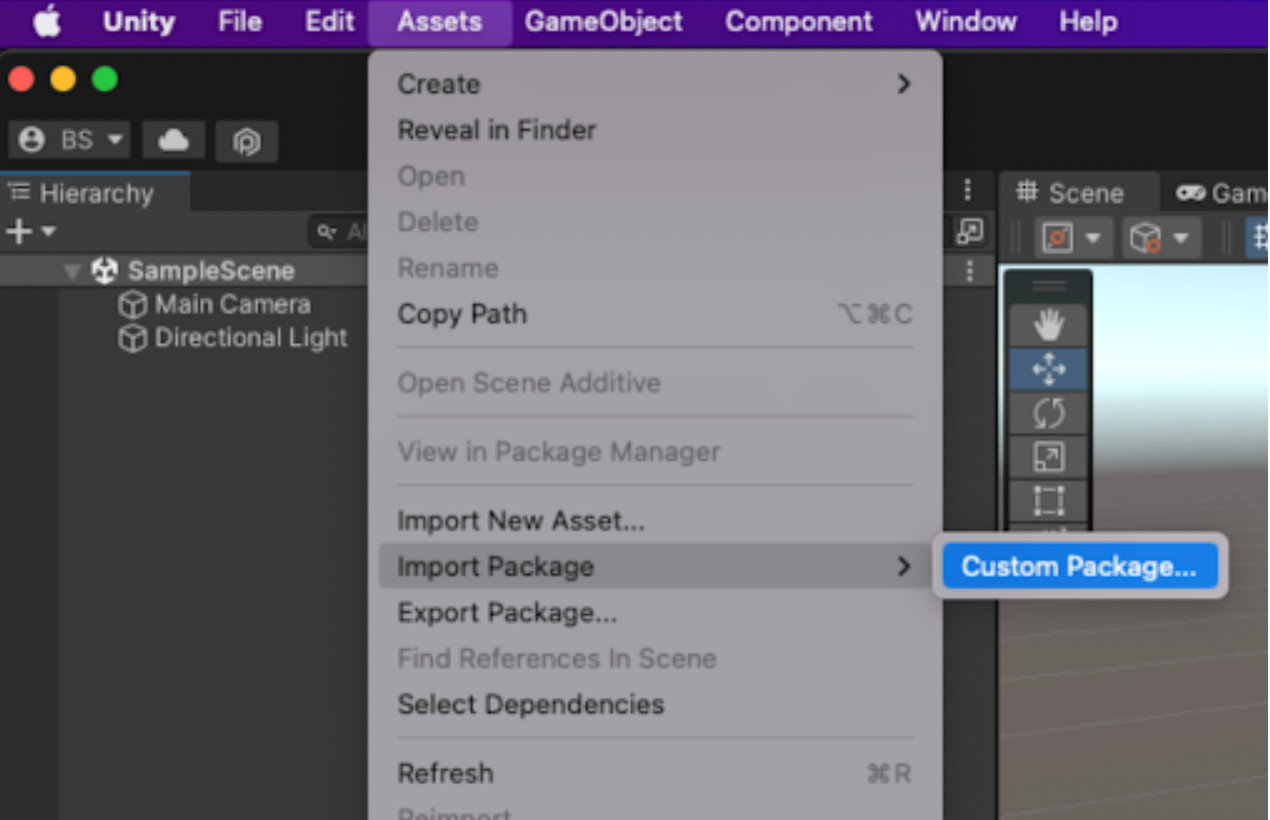
Select Package
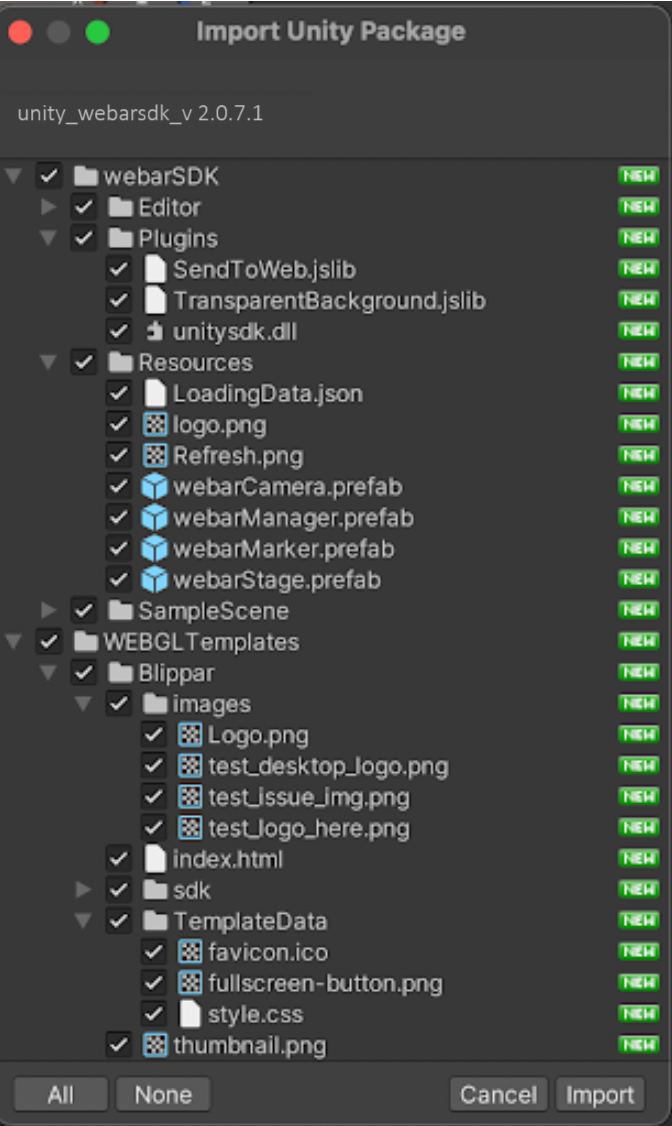
Import Package
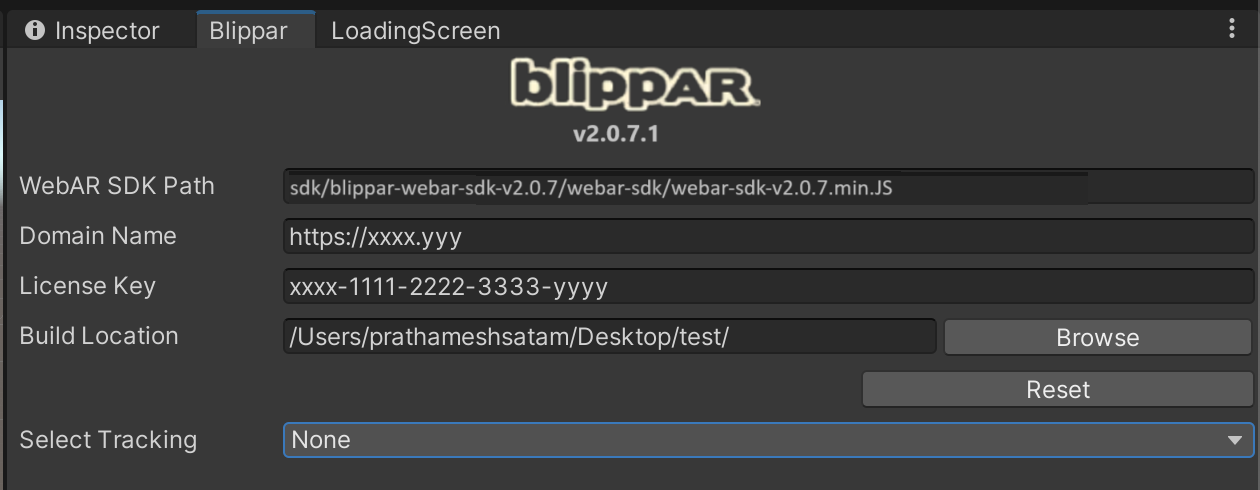
Blippar Inspector Tab