Build a Basic Marker Tracking Experience
Construction of an AR experience using image or marker tracking
Marker Tracking
Create a basic scene
To create a marker tracking app using Unity and WebAR SDK follow the below steps:
Navigate to the Blippar Inspector window and select the option ‘Marker Tracking’ as shown below:
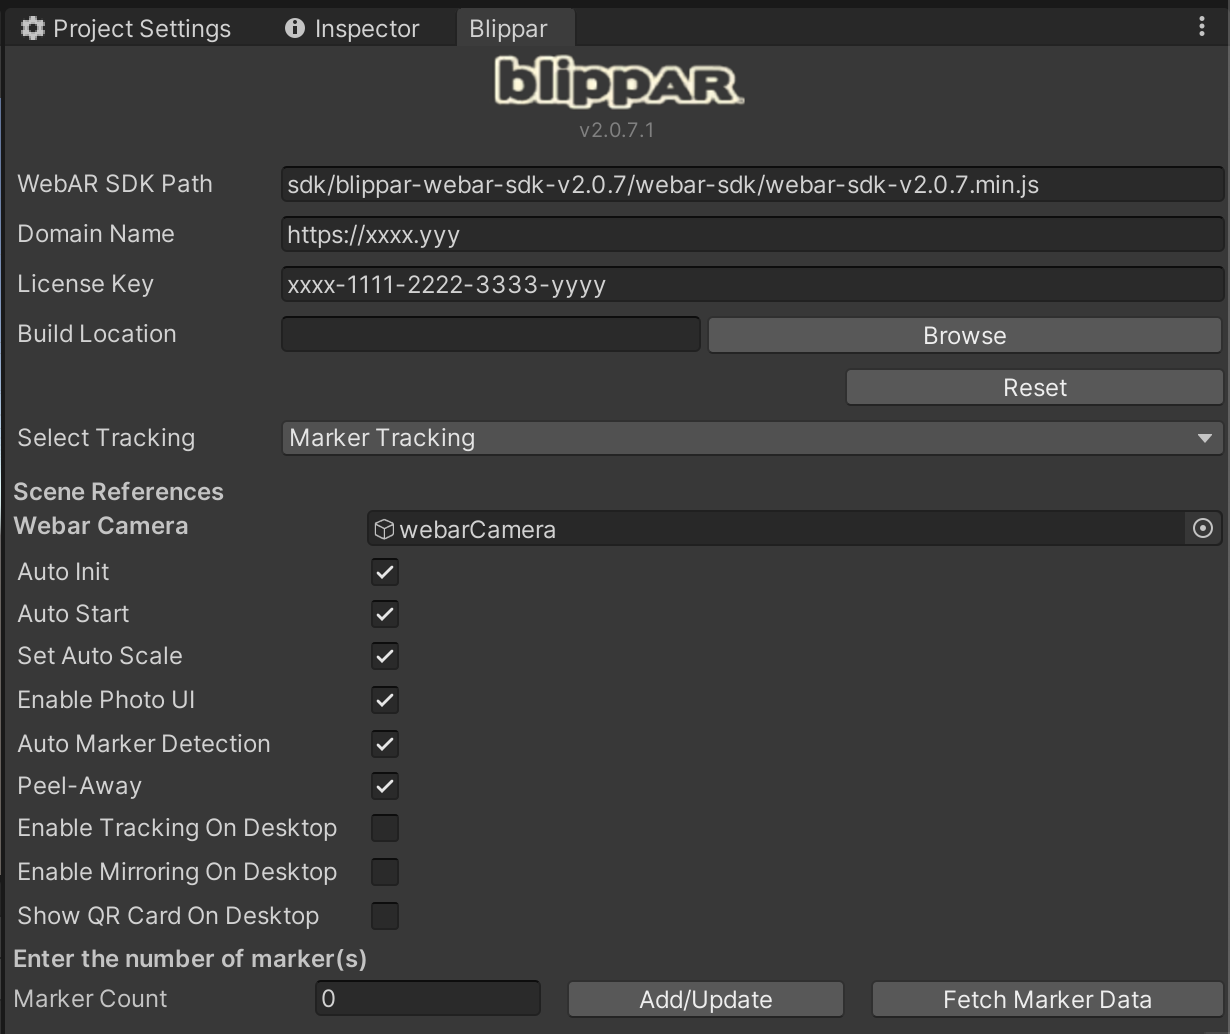
Consider the below experience where a marker tracking experience that can track 2 images in the sample app is being created.
Under ‘Marker Count’, enter ‘2’ to track two images. You will make two Marker entries to map the marker image ID and its corresponding 3D game object that has to be displayed over the image during marker tracking.
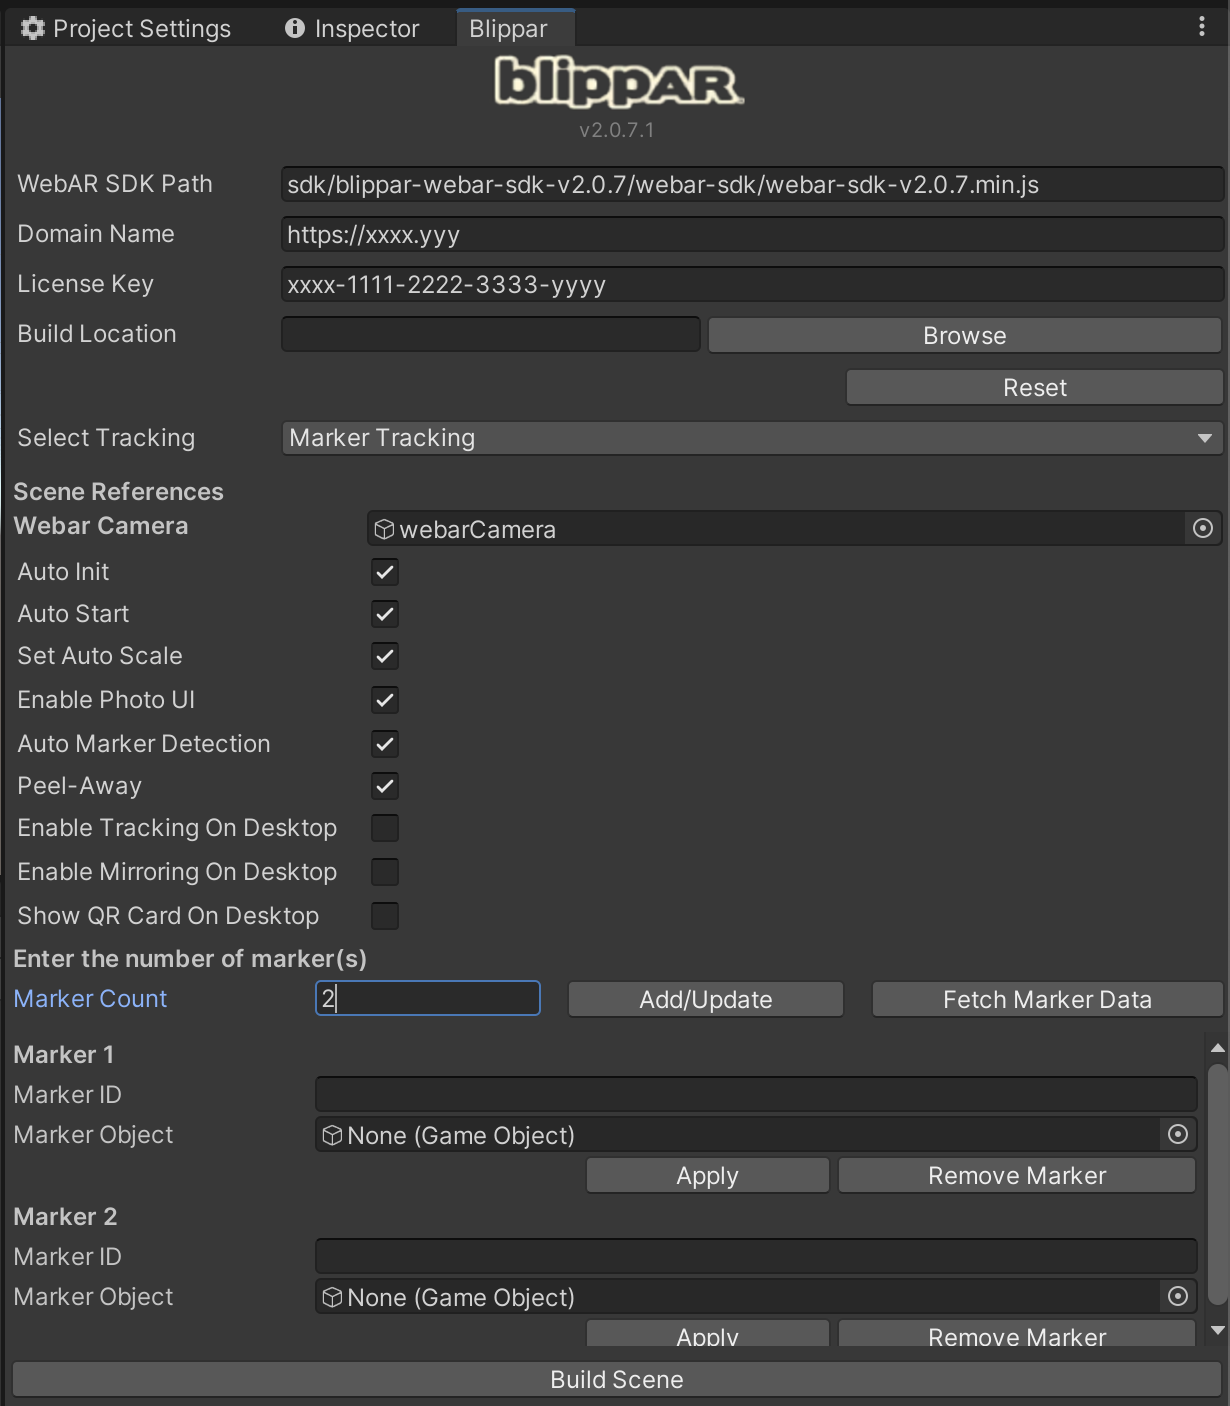
In the Blippar hub, upload marker images to be tracked and obtain their marker IDs. Click here for more details.
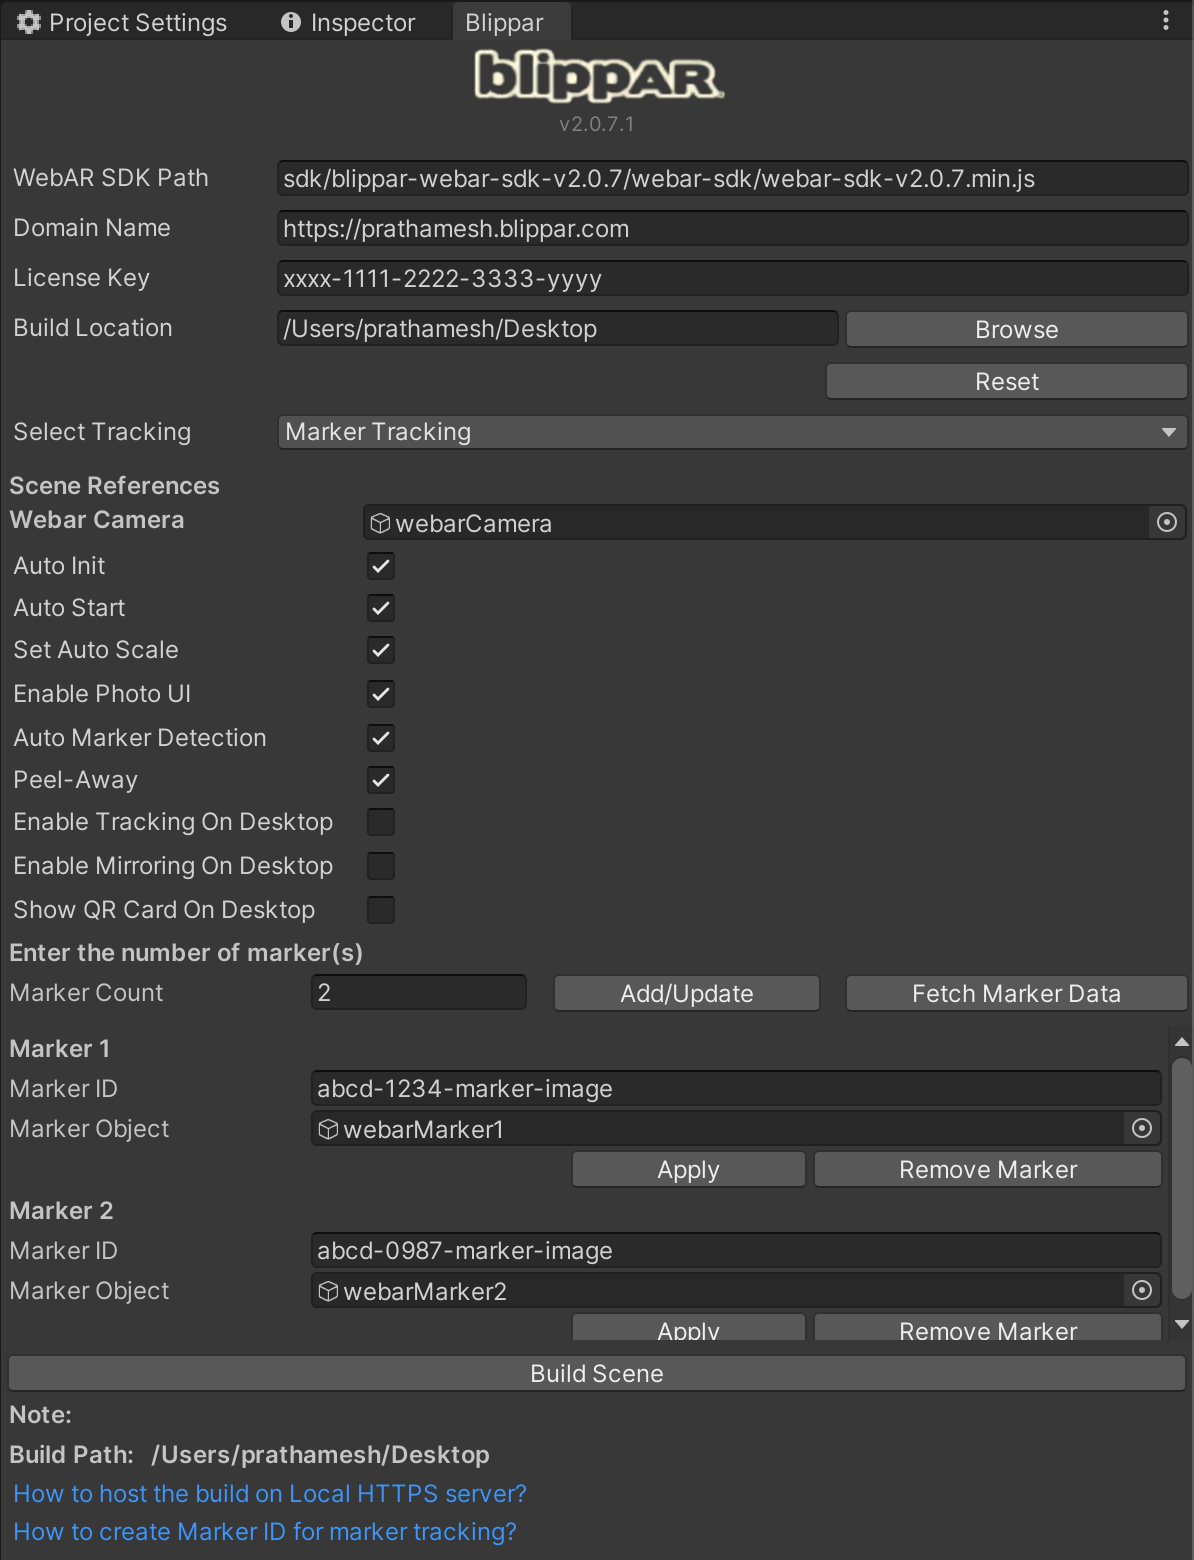
In the Blippar inspector tab, add the two marker IDs. For example, if the marker IDs are abcd-1234-marker-image_ and abcd-0987-marker-image, enter these two IDs.
If you have created a Surface tracking experience in the previous example, deactivate webarStage game object to hide the sample Capsule object from the Unity Editor's scene view. Right click on webarStage game object and select Toggle Active State. This is an optional setting.
Delete the default ‘Main Camera’ object from SampleScene
Under Blippar Menu in the Unity Editor's Menu bar, select webar Marker to create a webarMarker1 game object.
Add Marker
Repeat the step to create webarMarker2 object
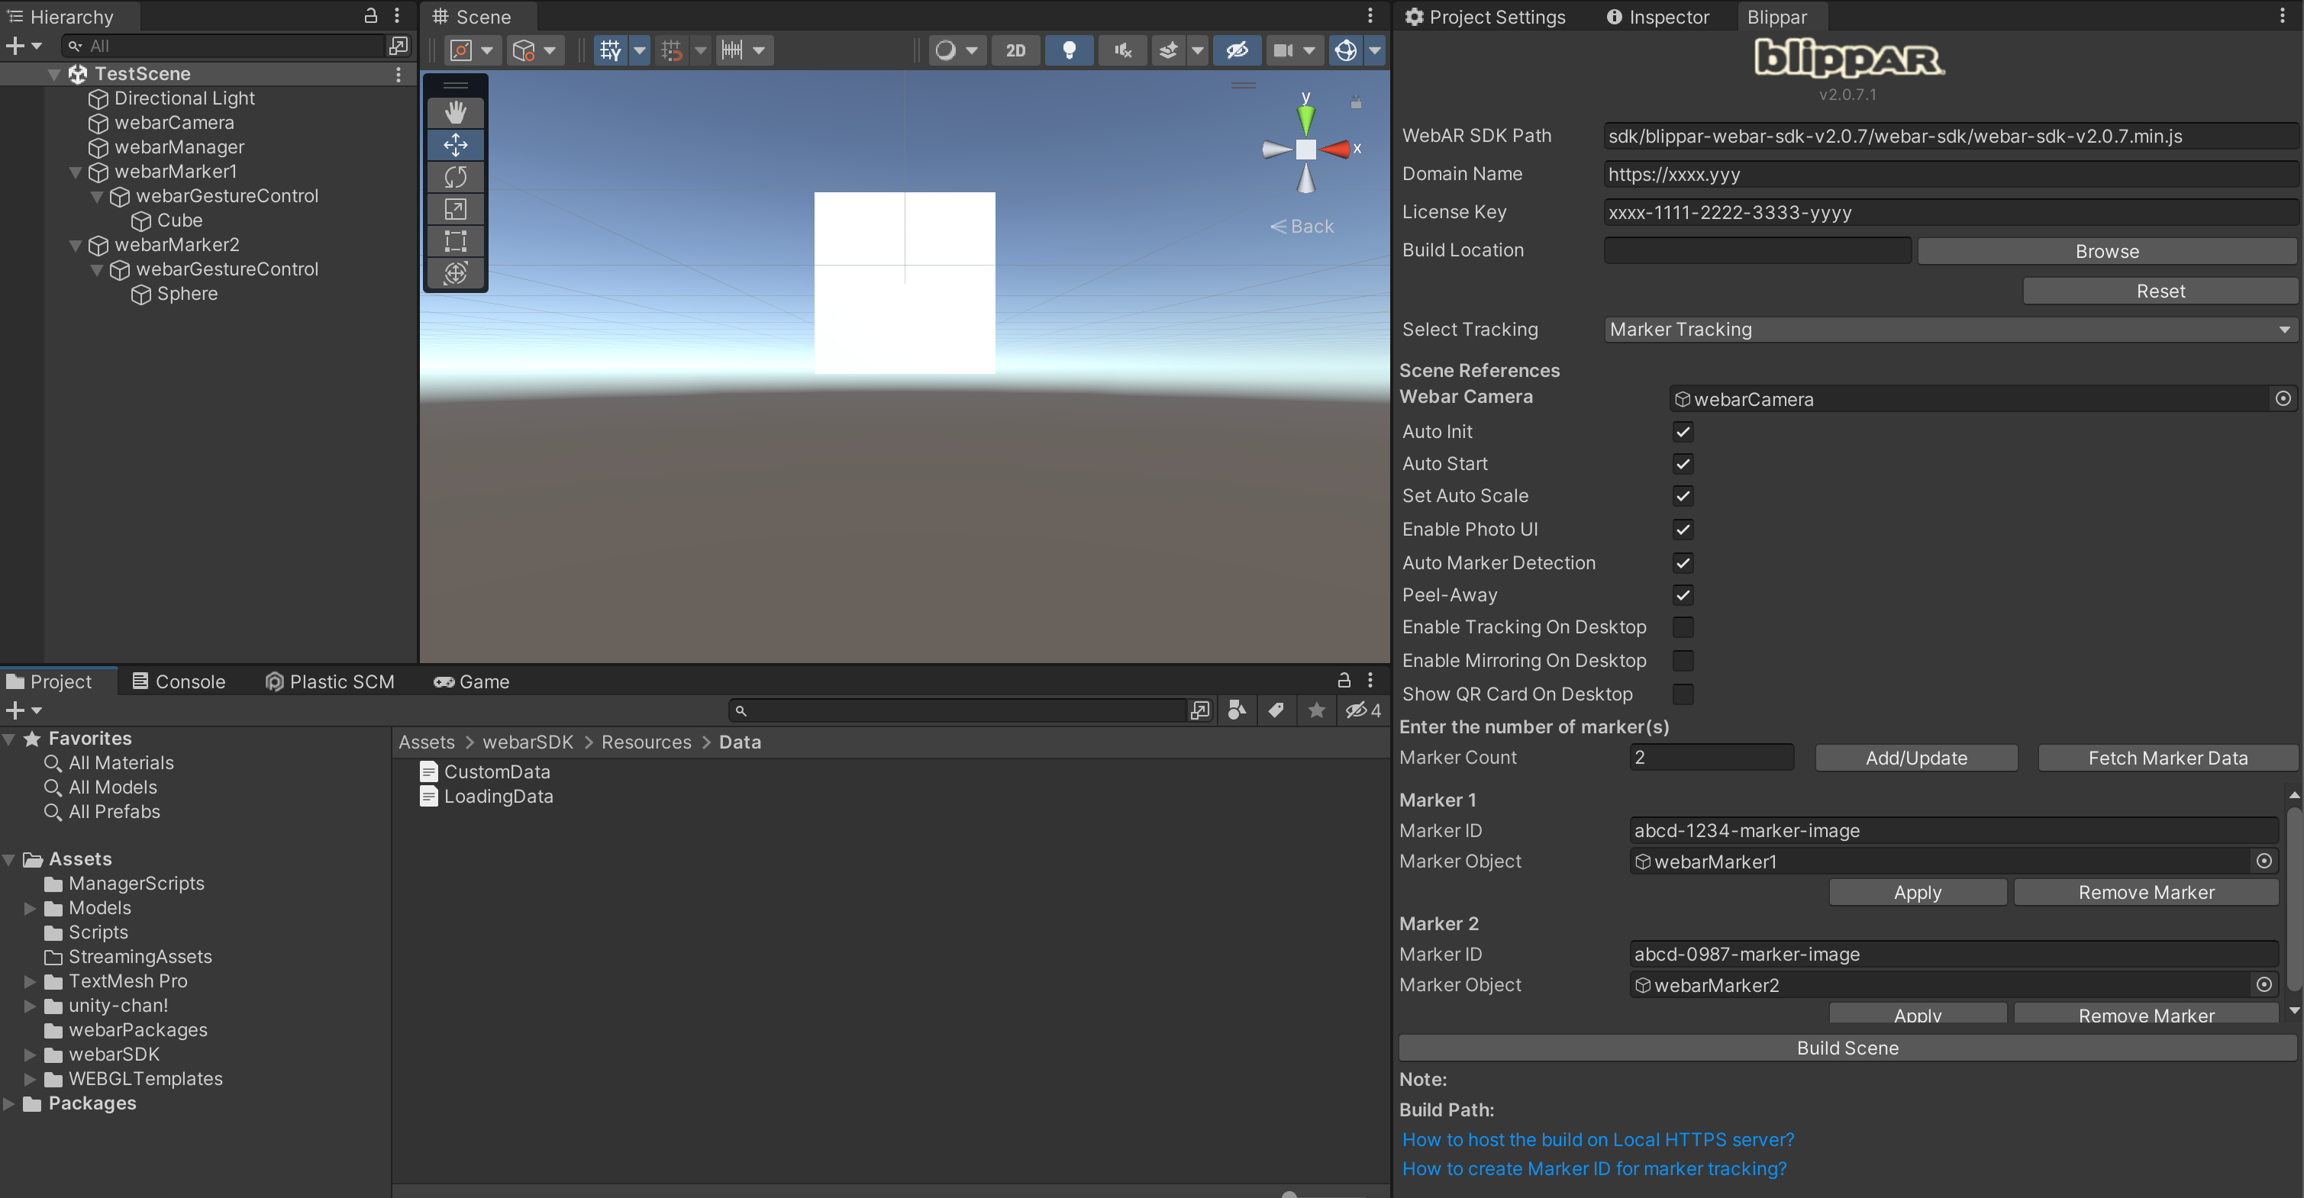
In the Hierarchy window, drag and drop the webarMarker1 object under Marker Object field of Marker 1 in order to map the webarMarker1 game object with Marker 1's Marker ID.
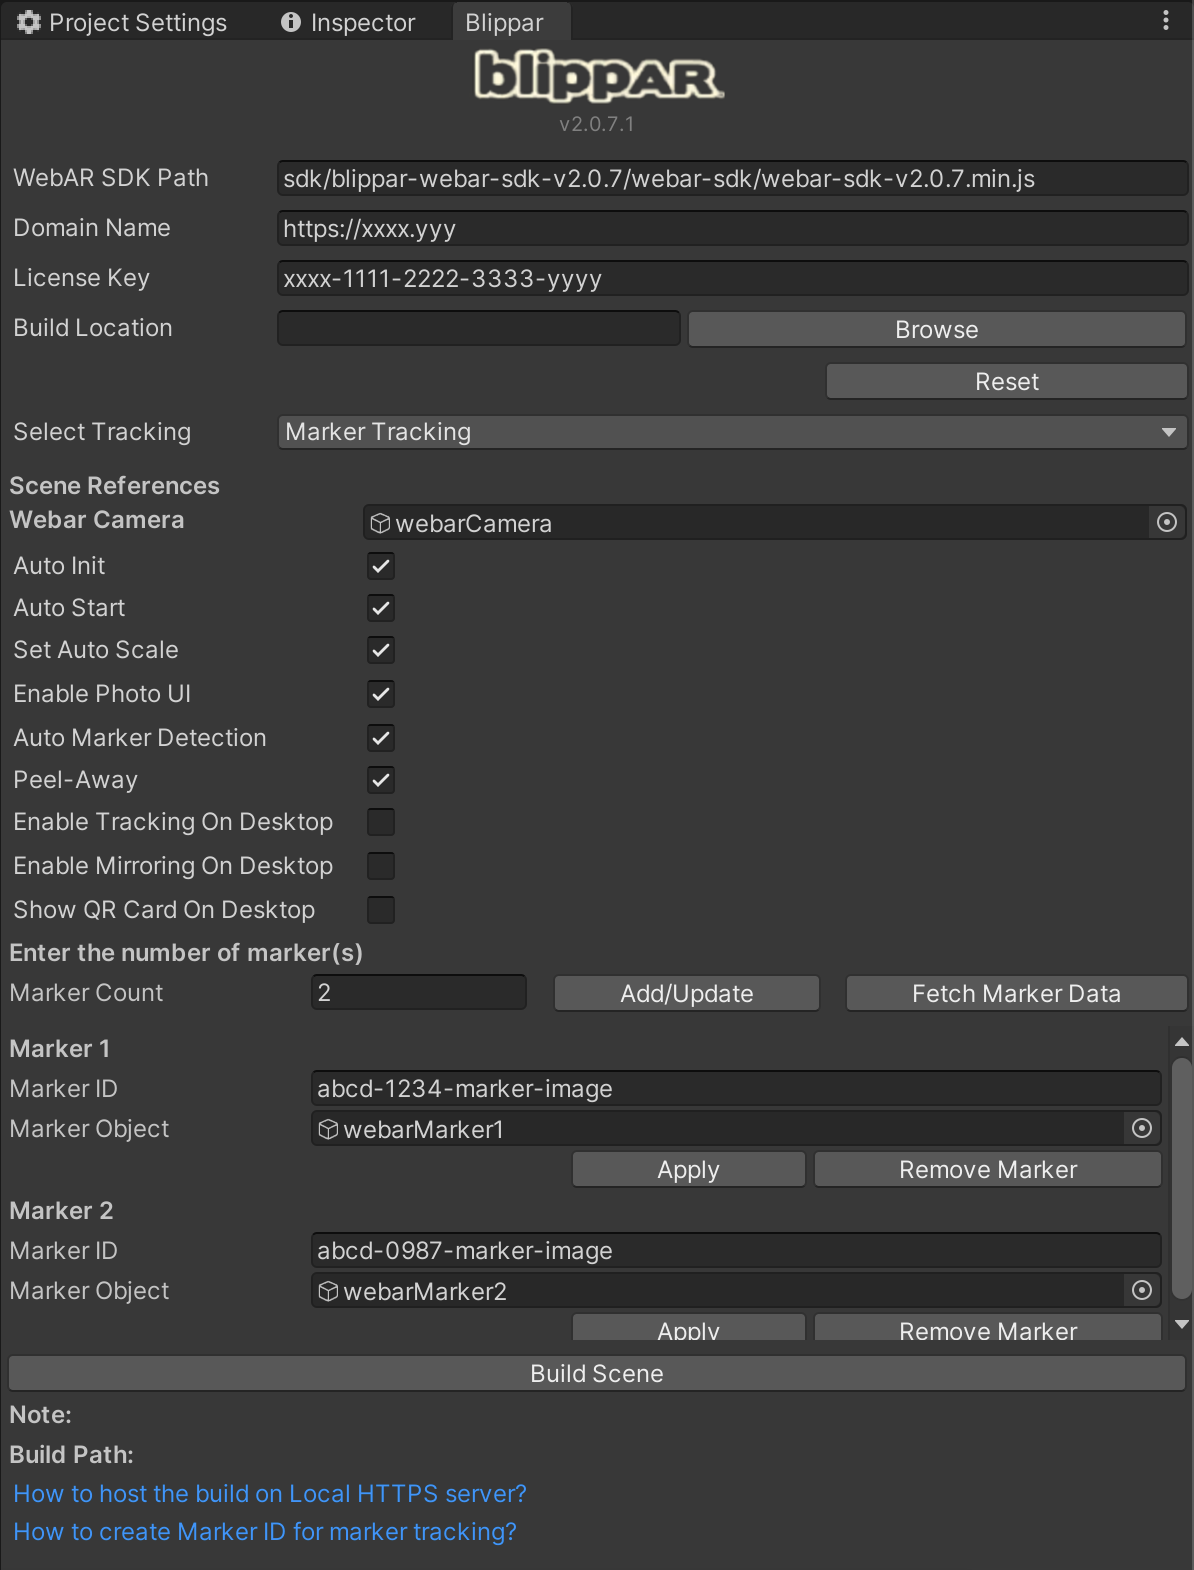
Repeat the above step webarMarker2 object to map it with Marker 2's Marker ID.
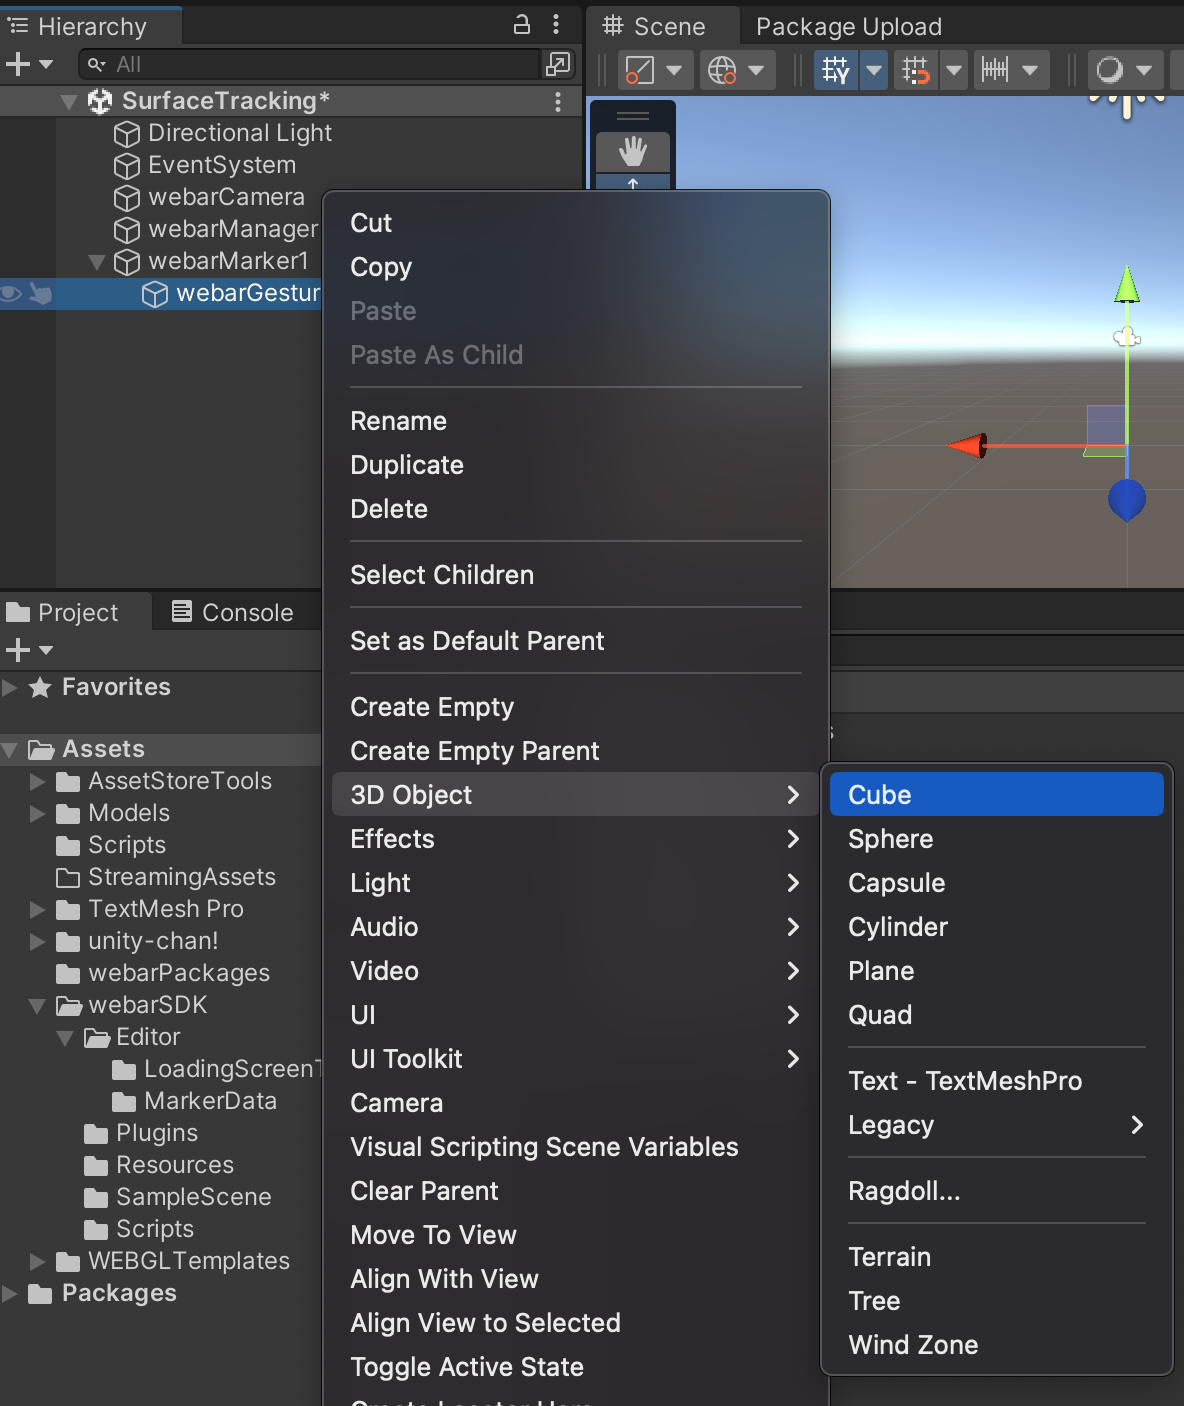
Create a sample 3D object under webarMarker1, for example, Cube, which will be displayed on the image having the marker id abcd-1234-marker-image, when running marker-tracking experience.
Similarly, create a sphere object under webarMarker2, to display it on the image having the marker id wxyz-5678-marker-image.

Peel-Away Mode
Enable peel-away mode. By enabling this option, the AR objects within the scene will remain on the screen when the user moves away from the Marker and it will continue to appear on the screen.
Marker Preview
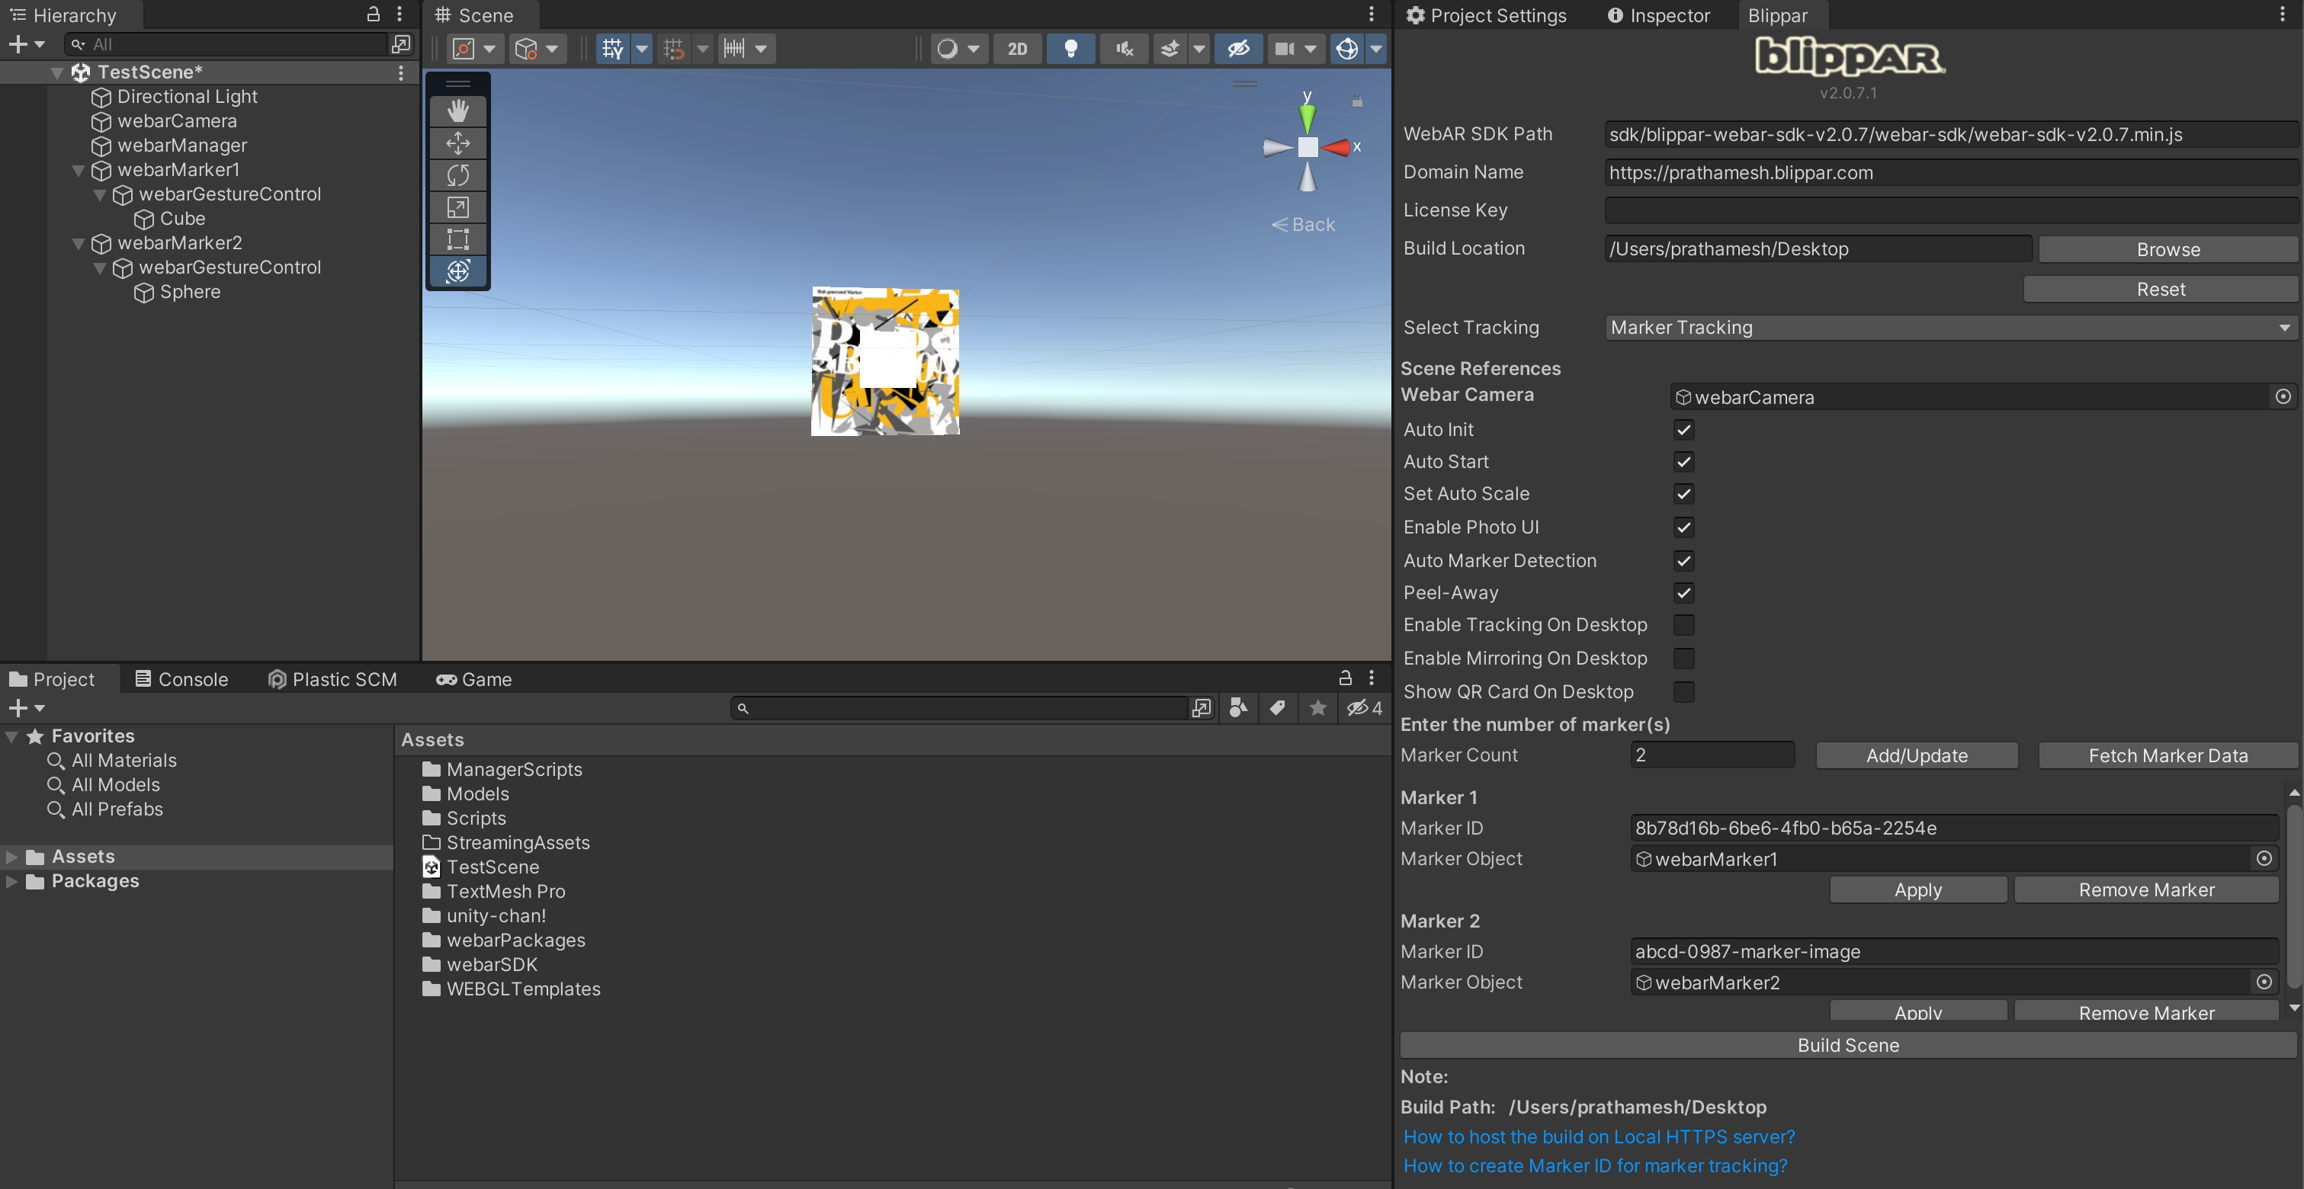
Enter proper domain name and license Key
Select Marker Tracking and click on Fetch marker data
Enter marker ID and assign respective marker object from hierarchy(if already not assigned)
Click on Apply button.
The marker preview is visible in scene view, adjust the object size wrt to marker size. marker size is default size which is generated at the time of marker creation. In some cases the marker size is small compare to default object size(1,1,1), so adjust the object(cube) size to see proper preview.
Check Color space -> go to the the project settings -> Player -> other settings and check the color space if it is Linear then change it to the Gamma.
Click Build in the Blippar Inspector tab, to build the marker tracking web application.
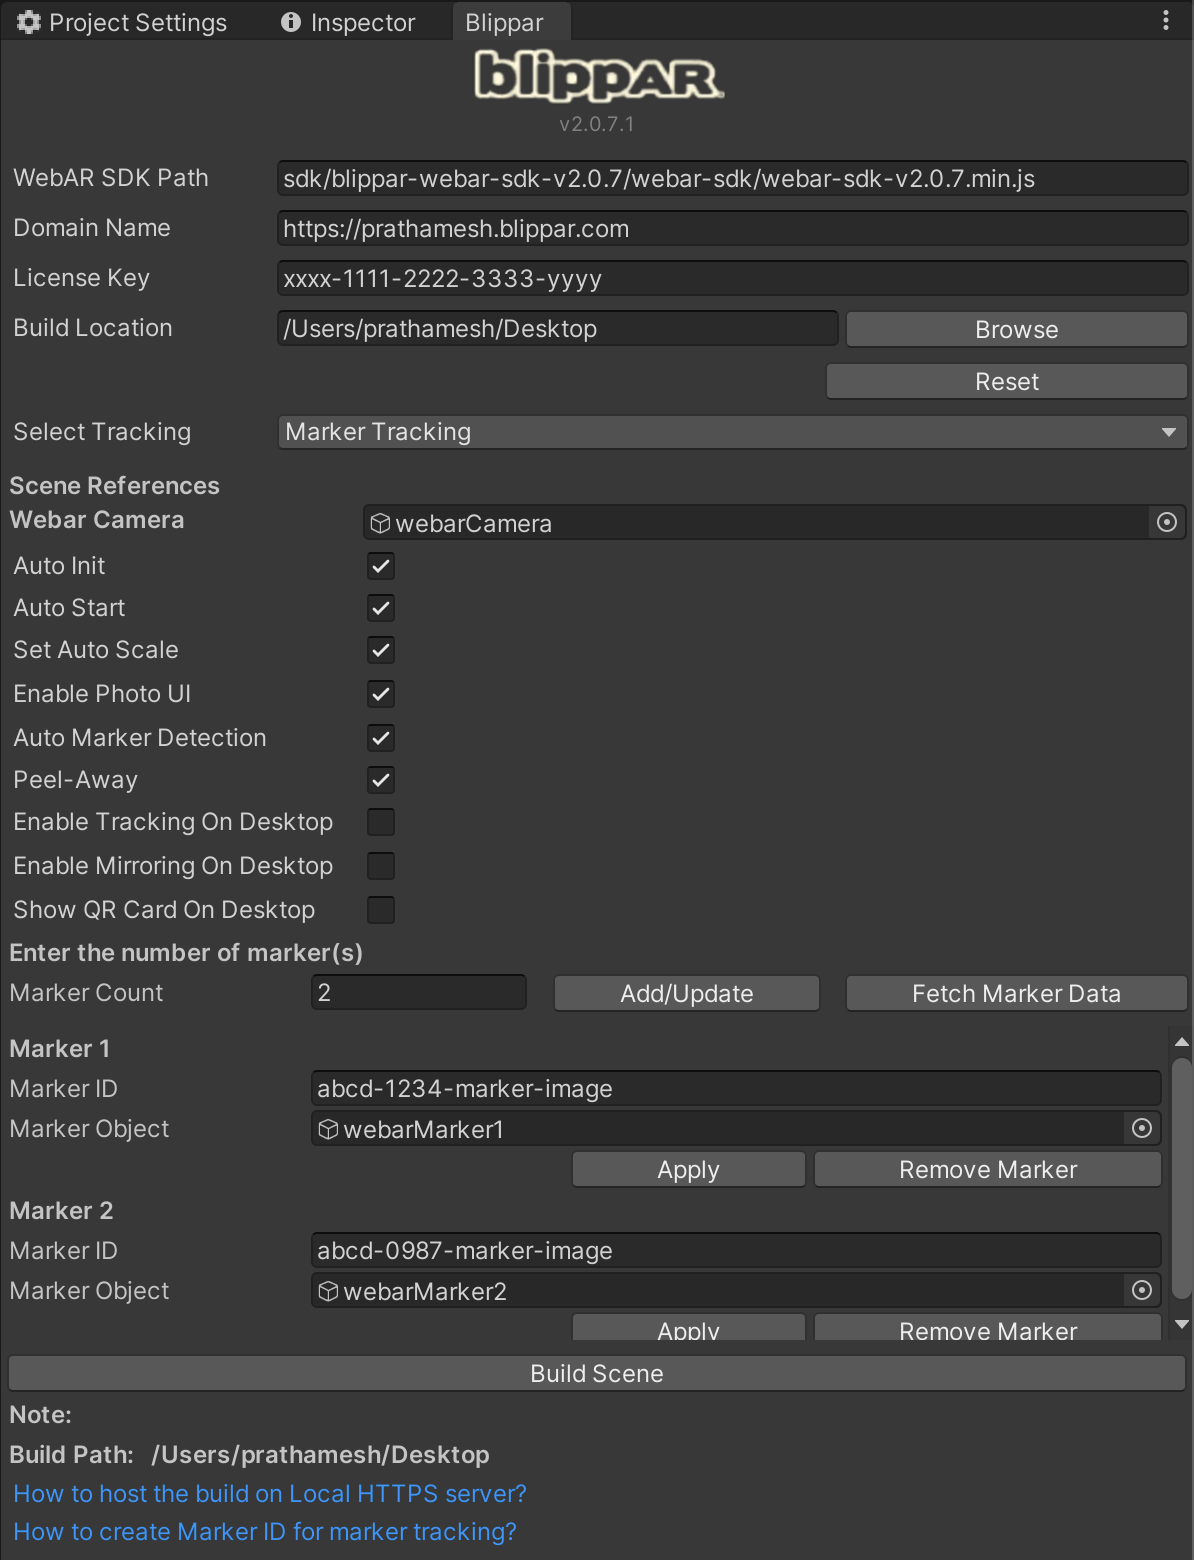
After the build is complete, a pop-up confirming this will appear on the screen
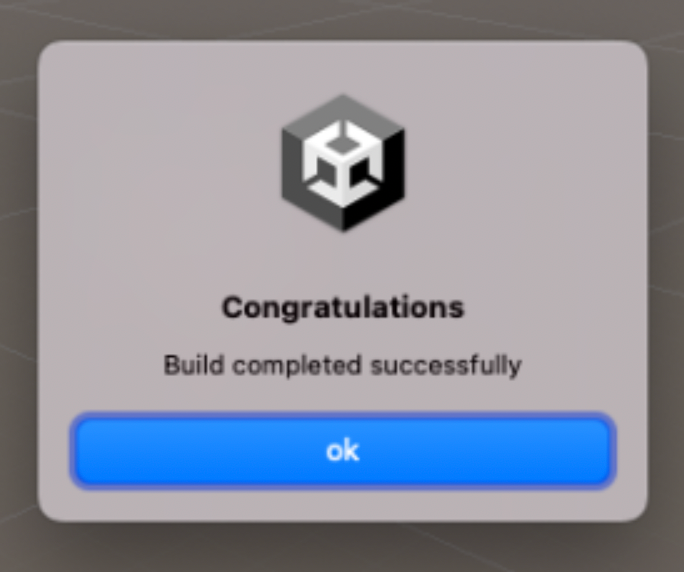
Once the build is complete, you can locate the built application under the unity project folder. Navigate to build location.
Host this folder in a HTTPS web server. For local testing, host it in a HTTPS web server having the desktop/laptop's IP address as the domain address.
For more details see this link on how to develop locally.
Open the URL in the mobile browser(Android Chrome or iOS Safari) to view the Marker Tracking experience.
Examples
Check out a few example AR experiences created using WebAR SDK Unity Package. Scan the QR code displayed on the screen to trigger the experience: