
Package Installation
Learn how to install the WebAR SDK Unity Package
Blippar Documentation Centre
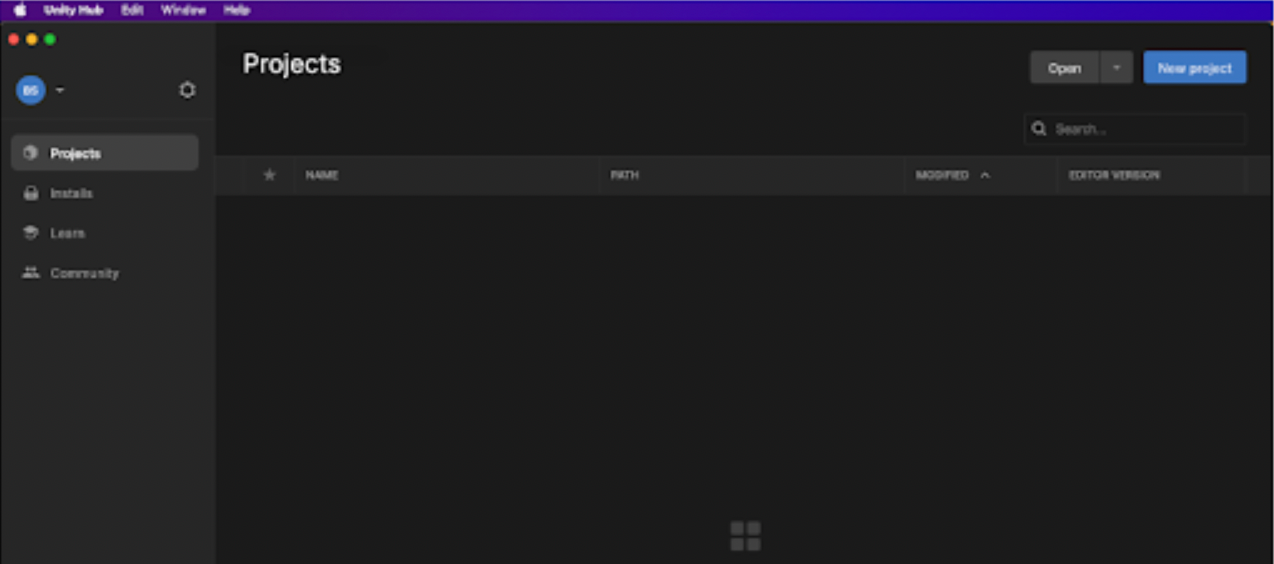
Create a project 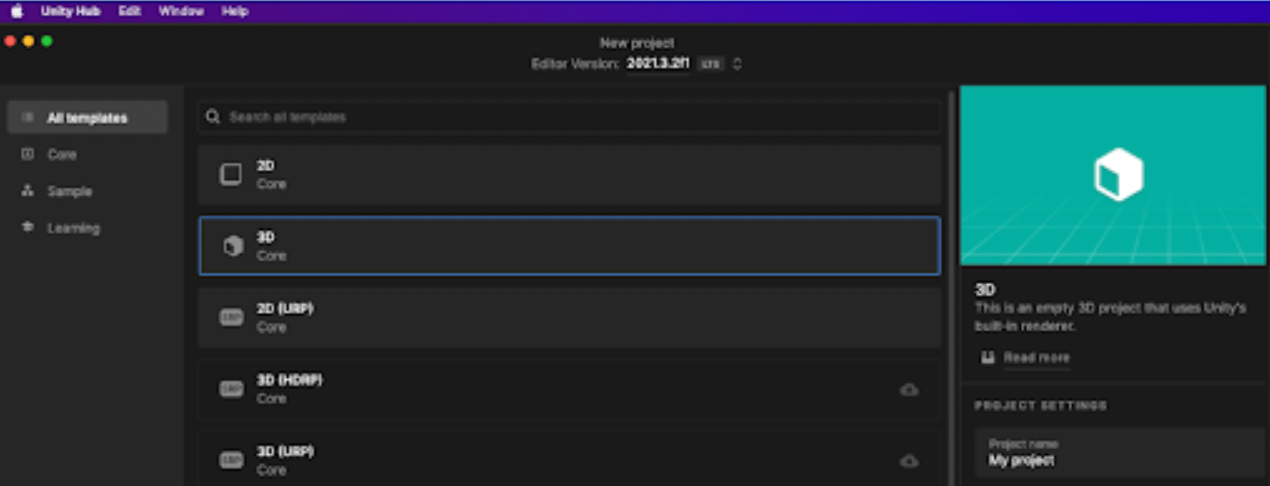
Template and project name 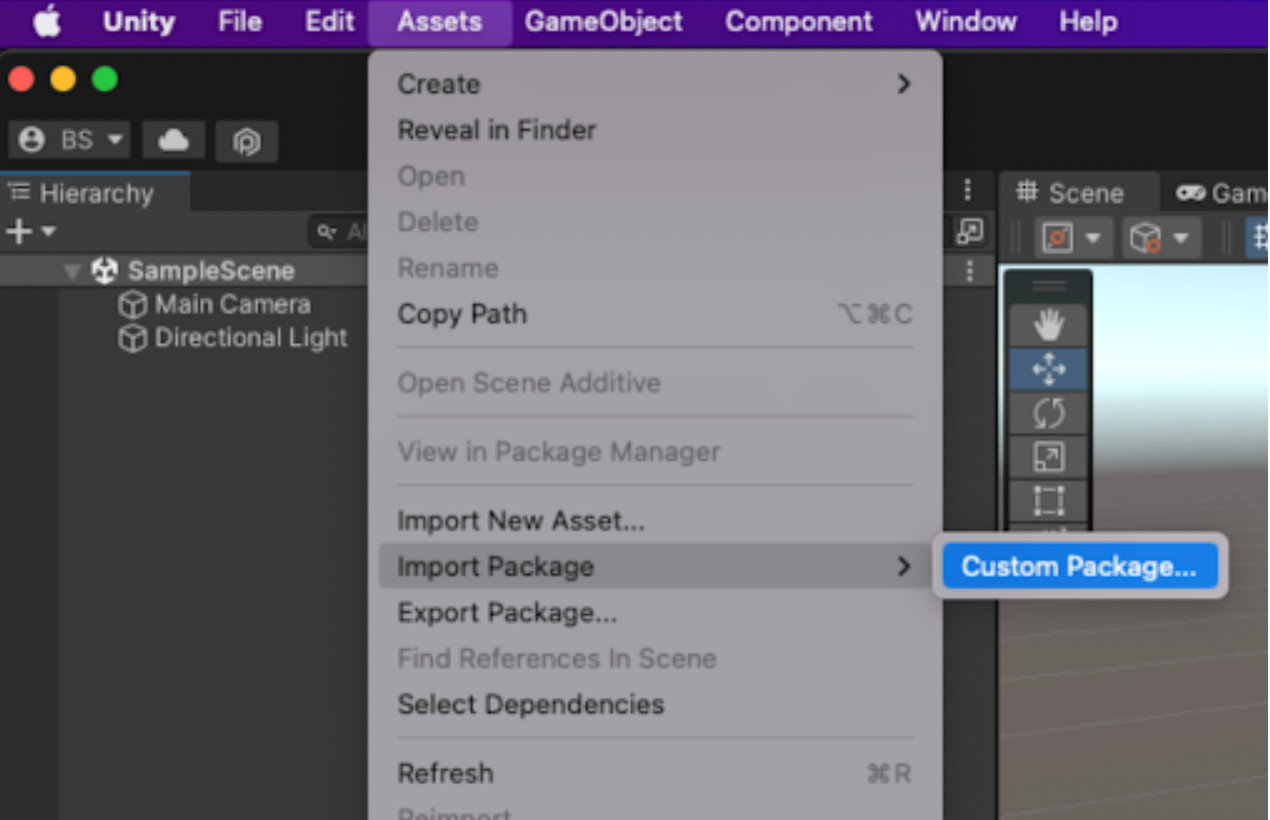
Select Package 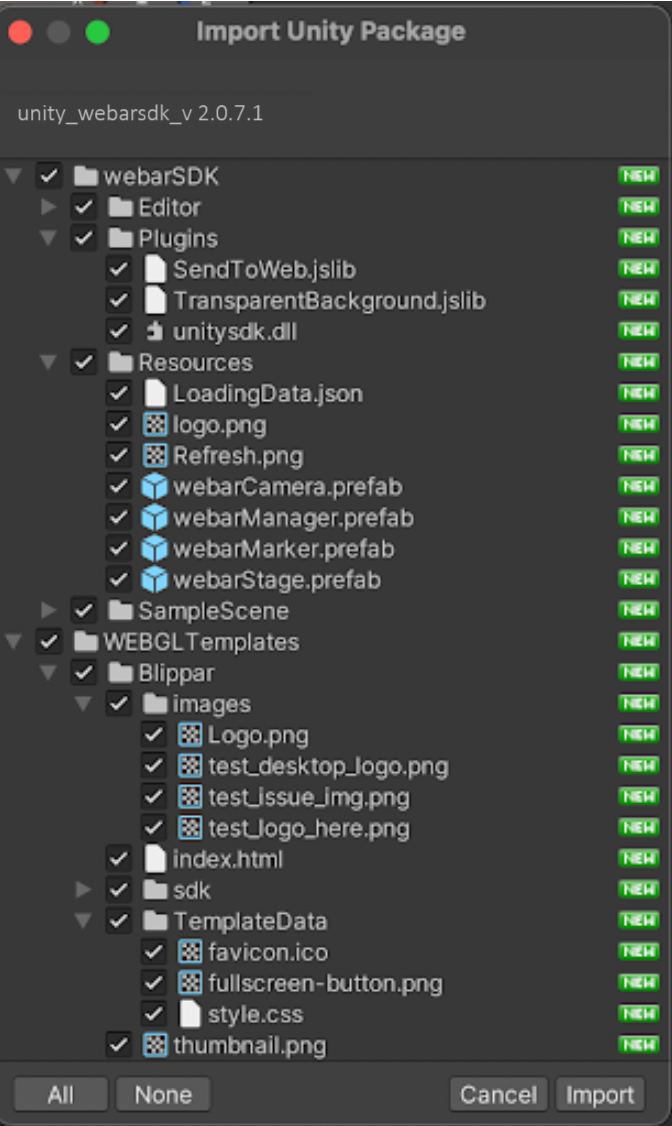
Import Package 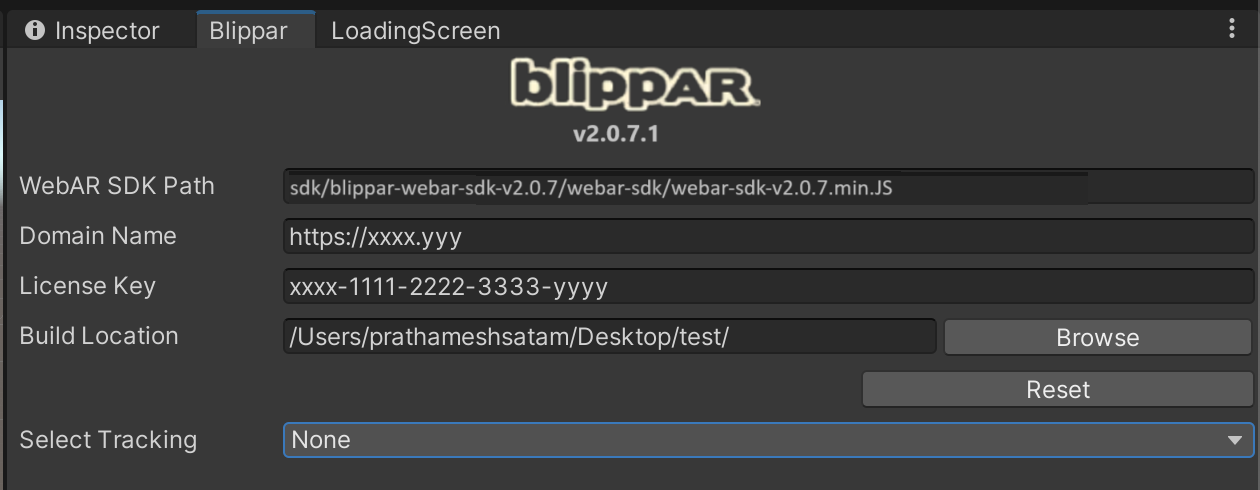
Blippar Inspector Tab
Introduction
Install WebAR SDK Unity Package